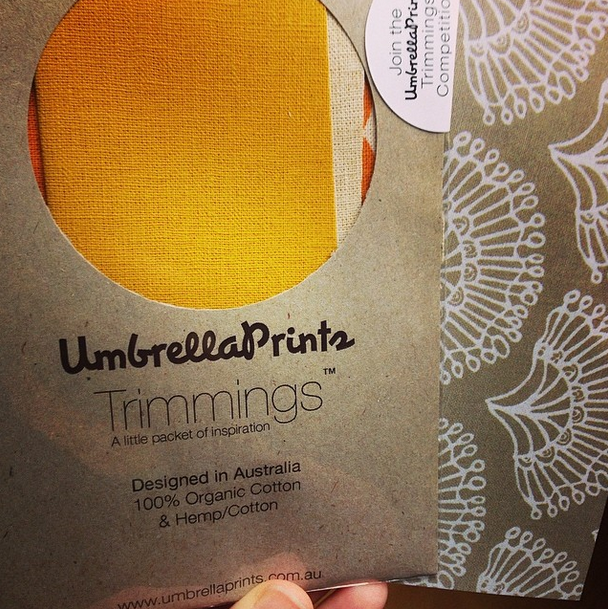
My Umbrella Prints trimmings packet arrived today! Can’t wait to sit down with the fabric and make something beautiful.

My Umbrella Prints trimmings packet arrived today! Can’t wait to sit down with the fabric and make something beautiful.
In addition to picking up knitting this weekend, I also finished my first-ever quilt: it is officially quilted, bound, labeled, folded, and packed up to ship back to Quilts for Kids. If you’ll be so kind as to hold on for a moment, I’m going to FREAK OUT ABOUT HOW I ACTUALLY MADE A WHOLE QUILT.
Ahem.
When I last posted about the quilt, I had just started quilting by using my sewing machine to “stitch in the ditch,” or stitch along the seam lines formed when assembling the top. I admit to prioritizing speed over precision here a bit:
As it turns out, quilting like this isn’t particularly thrilling. I’m finding it more of an exercise in repetition and meditation. Also, watching Netflix helps.
Once I had all of the horizontal and vertical seams quilted, the quilt looked like this:


I went back through and quilted diagonal lines as well, to comply with the QFK rules on how close quilting lines should be. The next step was to trim the batting and the backing.


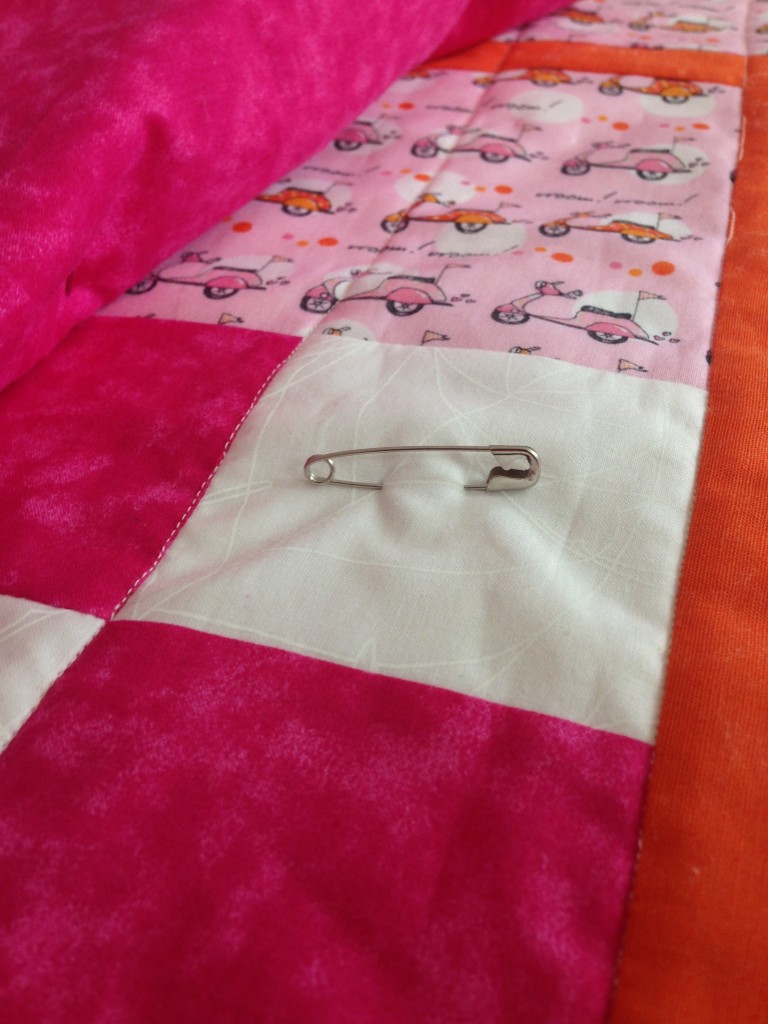
I folded the back over the edges of the quilt to bind it, rather than using a separate binding, following the step-by-step instructions in the Quilting By Machine Singer Sewing Reference Library (which I picked up for $3.00 at a used bookstore—yay!). The book recommended trimming the batting 1/4″ from the edge of the quilt top, trimming the backing 1″ from the batting, machine basting around the quilt 1/8″ from the edge, folding over the backing twice, top stitching, and then removing the basting. For what it’s worth: removing the machine basting took longer than all of the other steps combined, and I’m pretty sure I could have skipped it.
I zigzagged the binding rather than doing a straight topstitch (zigzagging helps the quilt avoid snagging on IV lines and other medical equipment). Once I finished the binding, I sewed on the label they provided, washed and dried the quilt, and got super excited at the thought of sending my first ever quilt out into the world to be used and (hopefully) loved. YOU GUYS! I MADE A THING!


Quilts for Kids quilt
Finished size: 36.5″ x 41.5″
PATTERN: Simple four-patch provided by Quilts for Kids
FABRIC (all provided by QFK): hot pink and white batiks; solid orange; pink and orange “vroom! vroom!” scooter print from Monica Lee Timeless Treasures (Google tells me this is no longer in production, but you can pick it up on Etsy or eBay)
NOTIONS: Mettler Silk Finish Cotton Thread in Muslin, Quilter’s Dream 100% cotton batting (Request, which is their lowest loft)
TIME: I made this quilt over three weekends (see part 1 and part 2), working maybe 5-6 hours per weekend. The fabric came pre-cut, which definitely saved time. On the first weekend, I assembled all of the four-patch blocks and started sewing them into rows. On the second weekend, I finished the rows, sewed the rows together, added borders, pinned together the quilt sandwich, and started quilting. Last weekend, I finished quilting and bound the quilt. Ta-da!
In the process of deciphering what “SSK” means so that I can knit a hat (yay!) instead of a neverending scarf of boredom (boo!), I discovered that I somehow taught myself to knit through the back loop instead of through the front, like a normal person. Whoops.
It’s okay, though! This is apparently a thing some people do on purpose, so I can pretend it was intentional.
I spent some time this weekend at Gather Here, which is one of my favorite happy places. I was there for a marking pen, but I ended up walking out with my first ever set of knitting needles and ball of yarn. As if I needed a new hobby.
I couldn’t help it—I was seduced by a fluffy, nubbly, mustard yellow cowl made out of the softest, thickest yarn I’ve ever seen. I practically begged the woman at the counter to help me become a knitter, and she set me up with a pair of size 7 needles and told me to go touch and smell everything on the giant wall of yarn to find a hank that spoke to me.
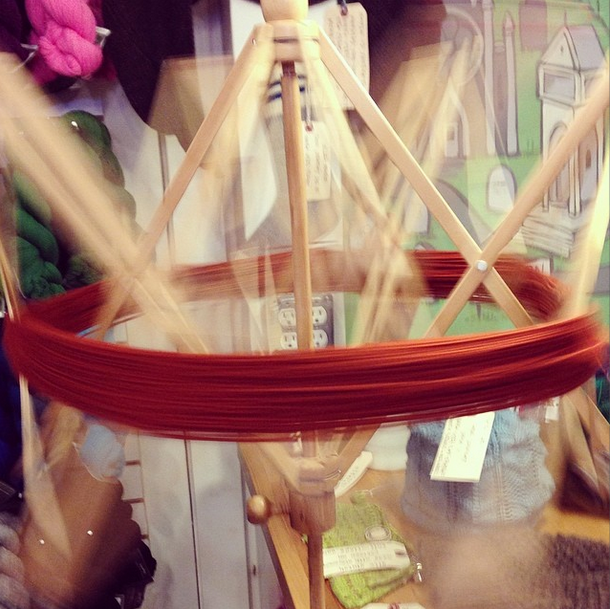
Before you can start knitting, you have to wind the yarn, a process involving this crazy contraption, which is apparently called a swift.
After it’s all wound up into a ball, you can take it home and start knitting, by which I mean googling “how to knit” and “what does ‘cast on’ mean” and “difference between ‘knit’ and ‘purl.'” I found Knitting Help’s “Complete Introduction for Beginners” to be the most helpful in getting me up and running.


After I knitted a few rows, though…I got bored. The thing about sewing is that you can sew a few straight lines and end up with something totally functional and usable. Knitting seems…less immediately rewarding? I joined Ravelry, which seems to be the place to find cool patterns, and realized that in order to make anything awesome, I need to know a lot more than just how to knit and how to purl (and also need to have more tools than just a plain set of straight knitting needles).
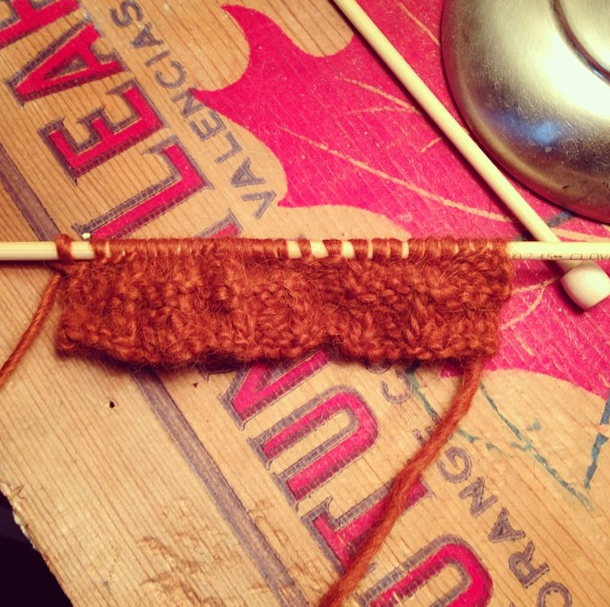
Which is fine, actually—I think a fluffy cowl is still in my future, once I work out the whole circular knitting thing. In the meantime, I’m amusing myself with a simple basketweave, which keeps my hands quietly busy (machine quilting: not really something you can do when someone is napping in the same room) and is still sort of fun, even if I’m not sure what to do with with the square I’m making (very red, very fuzzy dishcloth?).
Relatedly, does anyone have any suggestions for a beginner-level knitting project that’s not a dishcloth (or, um, a scarf, aka a very long dishcloth)?