The Wedding Quilts

I’ve been rather quiet here since this summer, which I attributed to wedding planning stress and an unexpected, last-minute move. Those things happened, but they didn’t stop me from making things—the real reason I’ve been so quiet is that my maker energies have almost all been focused on a massive, secret project: the wedding quilts.

When Mr. Jones and I got engaged, we knew immediately that we wanted to give something to our families that would reflect how loved and supported we’ve felt not only in our relationship but throughout our lives. We decided to each take on a project: he would hand-carve and wood burn a series of walking sticks, and I would make quilts. Five of them.

Aside from a couple of cryptic Instagram posts, I managed to stay mostly silent about the project. Now that the wedding’s over and the quilts have been gifted, though, I can finally blog about them!

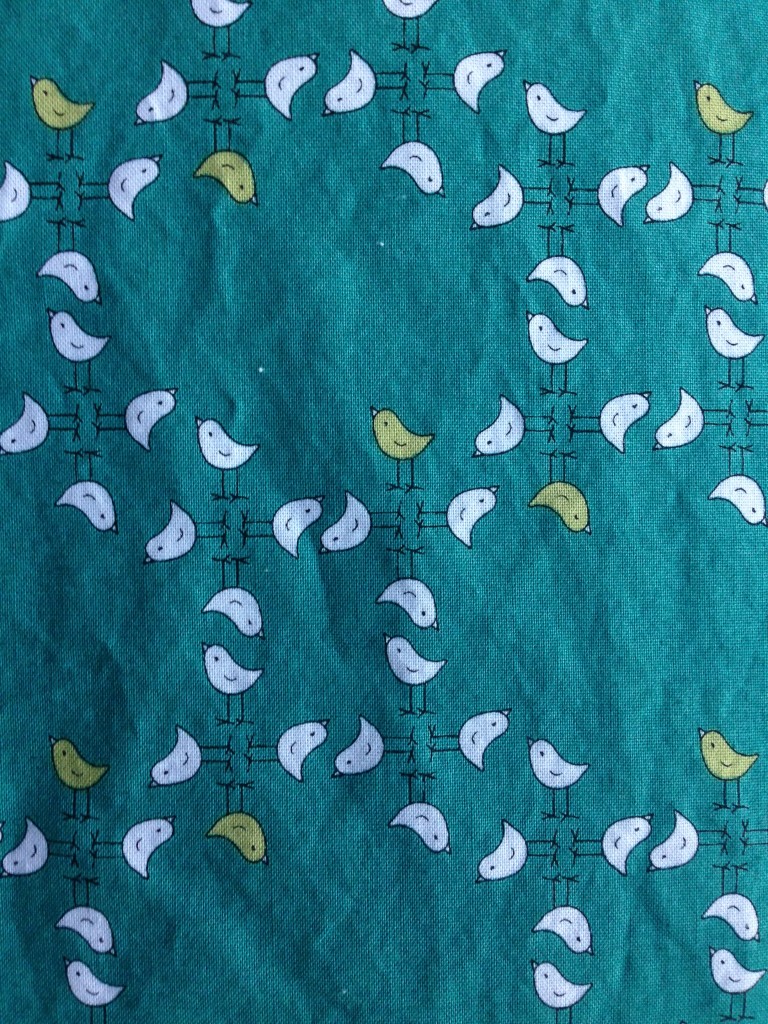
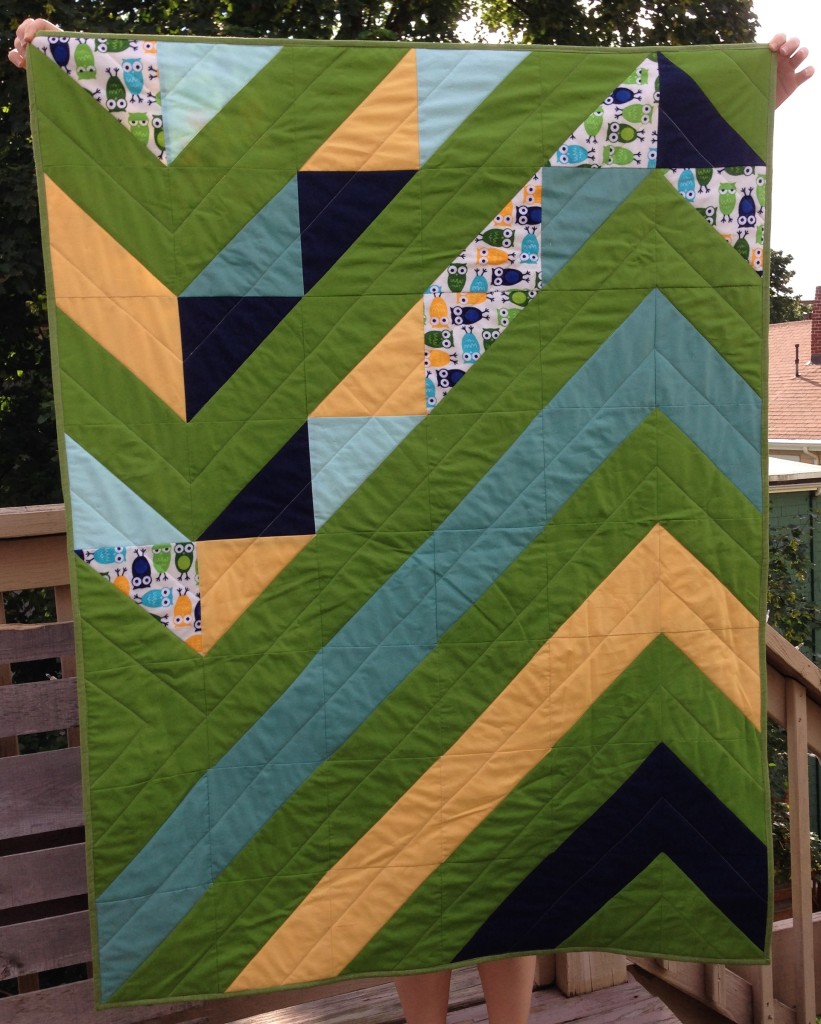
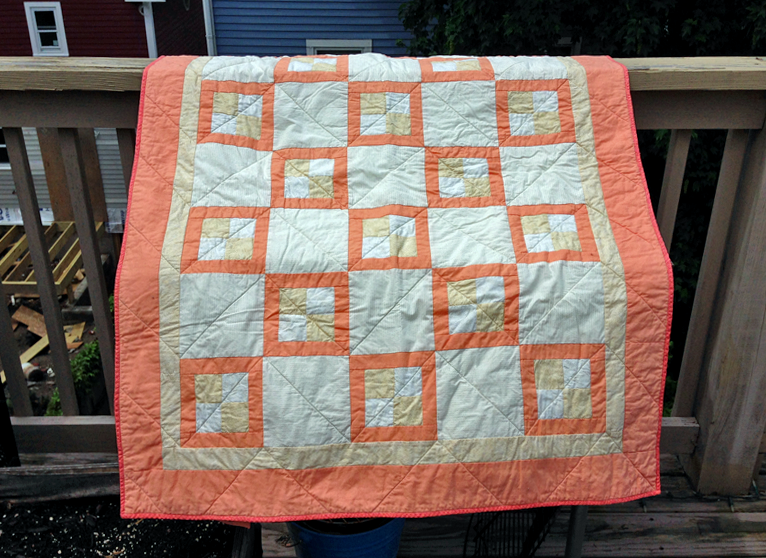
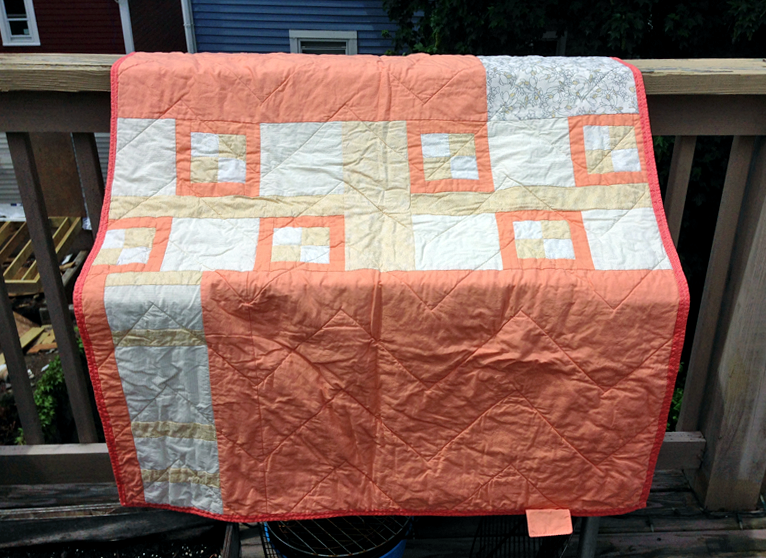
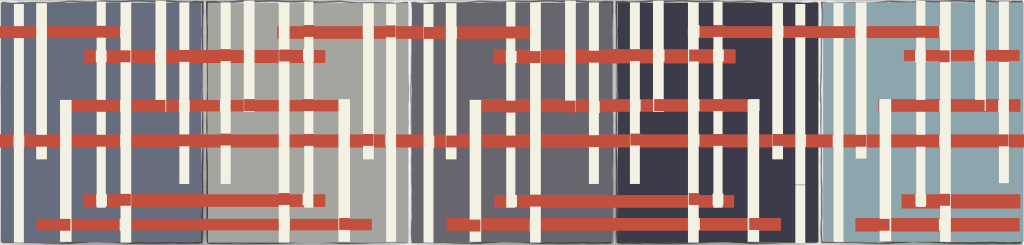
Mr. Jones and I picked out the pattern together: we chose Purl Bee’s Crossroads Quilt as the base.

Purl Bee Crossroads Quilt

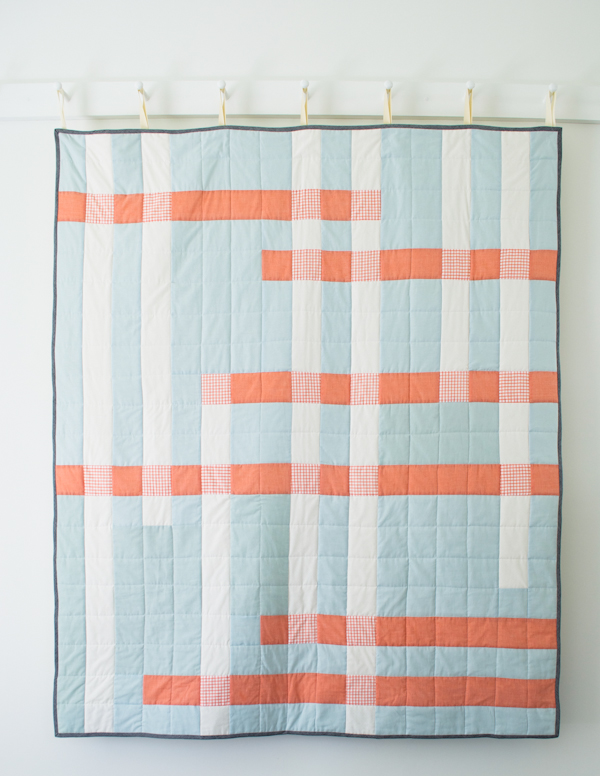
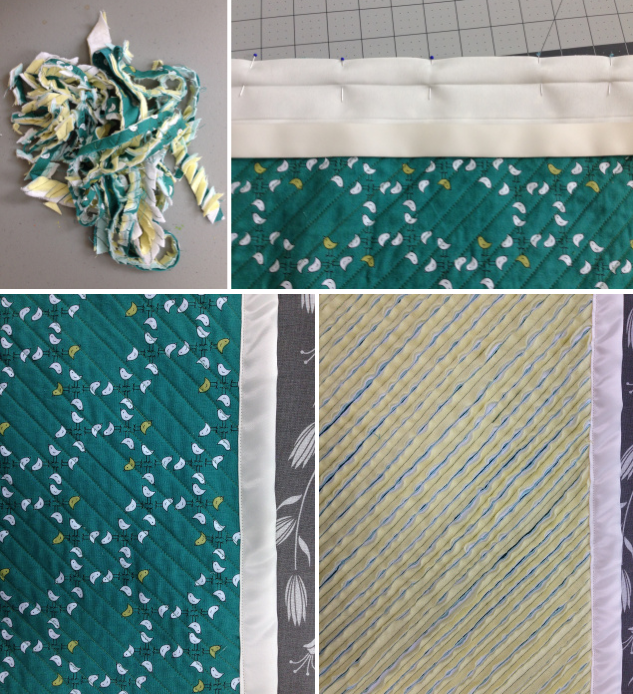
We then tweaked it a bit so that instead of using a print fabric for the “crossroads” overlap bits, we wove the two narrow stripe colors in and out.

Crossroads Quilt: Woven

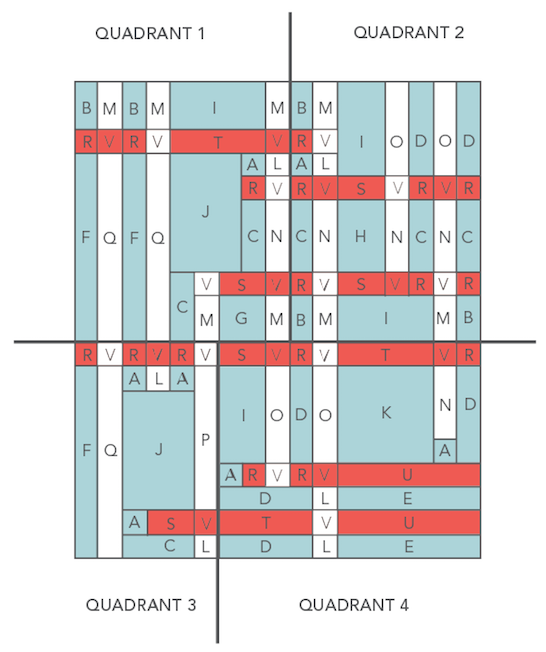
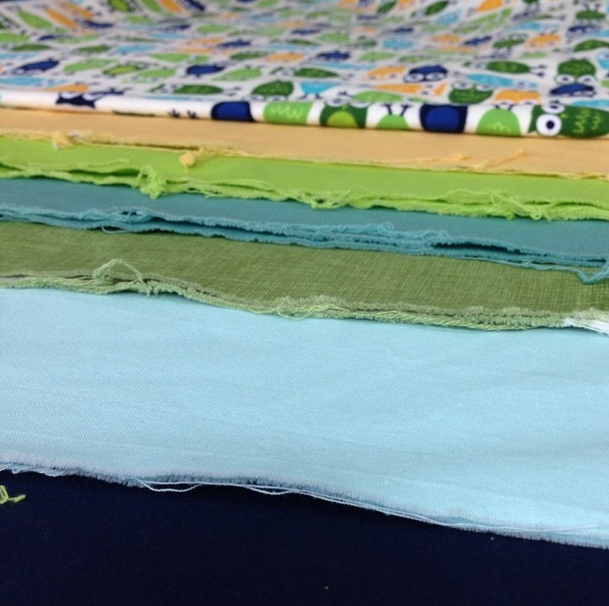
We decided on white and red for our stripes, then chose five different shades of blue and gray (one for each recipient) for the backgrounds. (Breaking out the Kona Color Card to match our photoshopped pattern to actual fabric: so awesome.)

Wedding Quilts

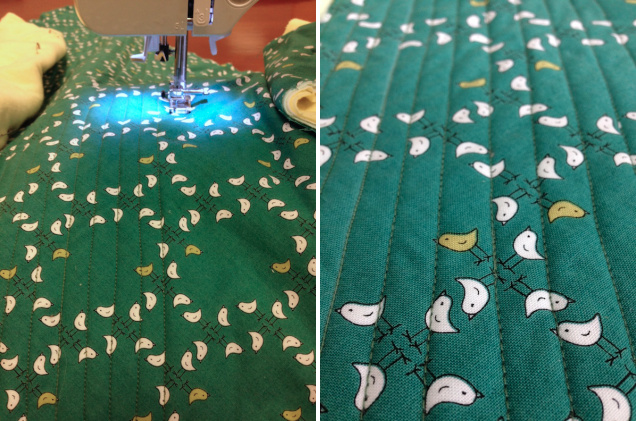
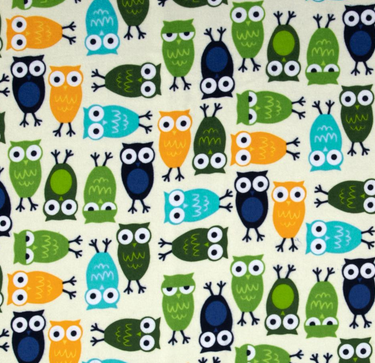
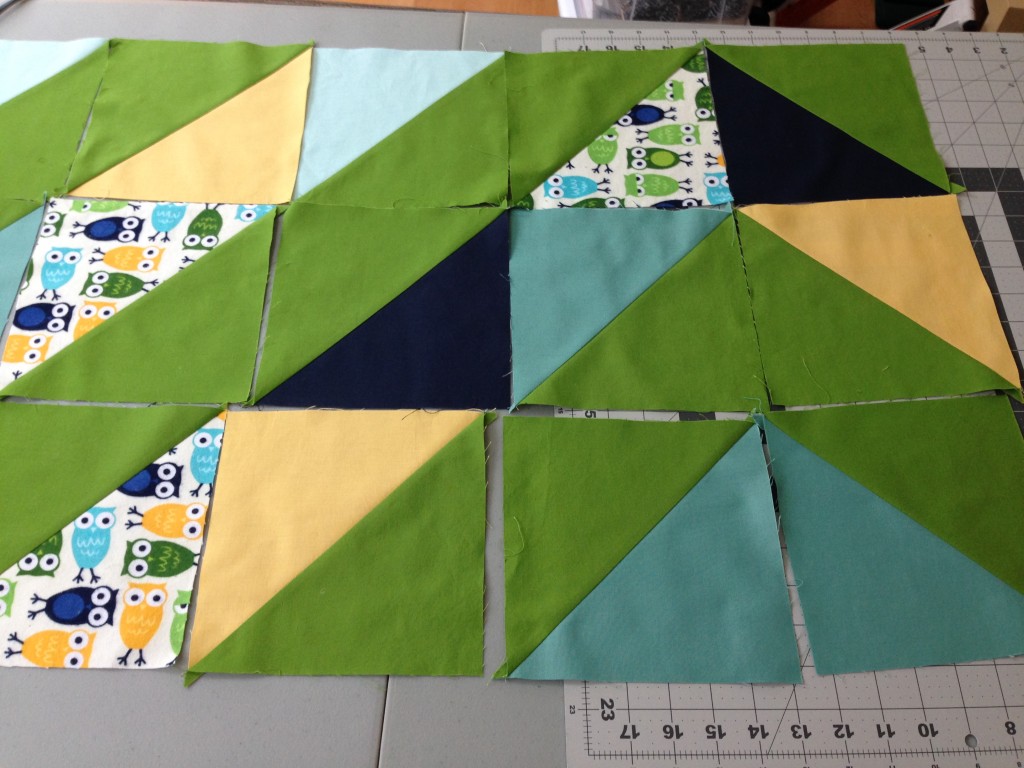
Once we ordered the fabric, we went into production mode: we washed and ironed all of the quilt top fabric at once, which involved…a lot of ironing. I spent a couple of nights cutting everything up, and then I taught Mr. Jones how to press open seams so we could tag-team the piecing process. Photos here are lacking; please accept this photo of Margot instead.

Margot

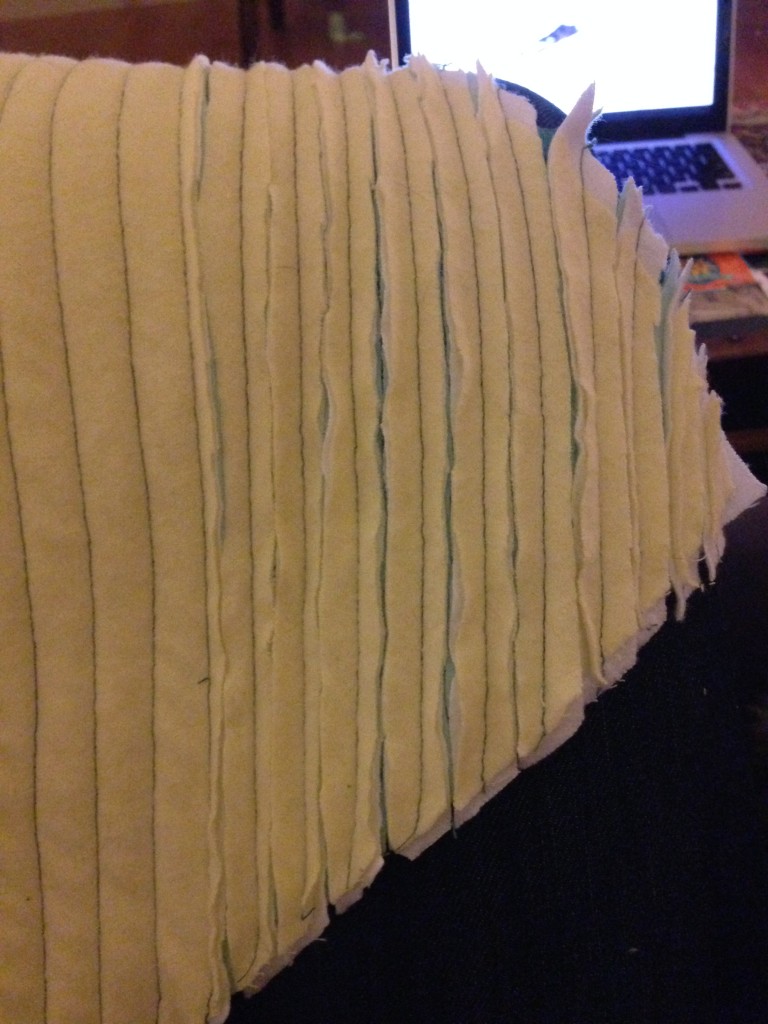
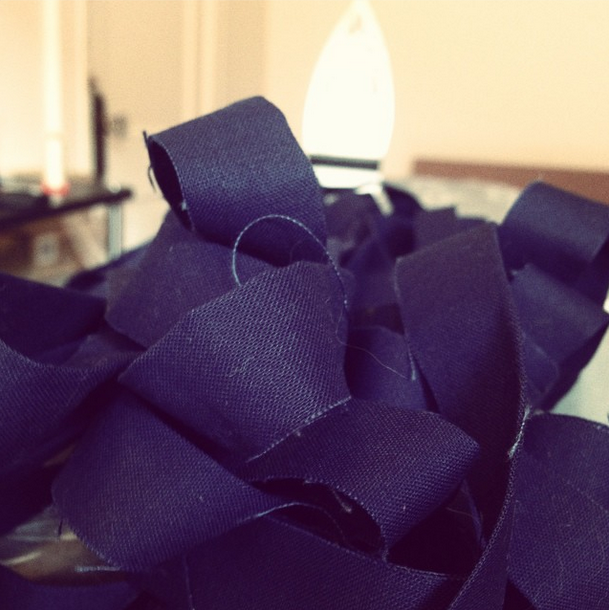
We finished the piecing just before the move and picked up the quilting stage once we had settled into the new place. No photos of this, aside from the mountain of double fold bias tape I made one weekend:

bias tape mountain

I took an embroidery class in mid-September, then made custom labels for each quilt with our initials, the initials of the recipient, and our wedding logo (I never thought I’d be the kind of person to have a wedding logo, either. I know.).

Four long months of secret-keeping and blog silence later, we had wedding quilts.

Wedding Quilts!

A Covey of (Fuzzy) Partridges

I’d be delighted if everything I made came with a specialized term of venery, but I think these partridges might be my last animal-themed project for a while. That said: check out these adorable birds.

Birds

The fabric is “Bird Basket” in teal from the Meet the Gang collection by Marisa and Creative Thursday for Andover Fabrics. I found it (and fell in love with it) at the Fabric Corner in Arlington a few months ago, and picked it up with the Heirloom Cut Chenille Baby Blanket from Aesthetic Nest in mind. A yard and a quarter each of this and three different colors of flannel (yellow, white, and baby blue) later, and I was in business.

When I first bought my sewing machine, a friend recommended the chenille blanket as “a nice quilt-like project but without all of the piecing.” You prewash and iron your fabric, stack it up, and mark a starting line down the center, and you’re ready to “quilt,” which in this case involves sewing parallel lines on the diagonal, half an inch apart, across the entire shebang. Like so:

A Covey of Partridges

Once all of the lines are sewn, you flip the blanket over and cut through the layers of flannel. I enlisted Mr. Jones to help with this, and we took care of business while watching Game of Thrones.

A Covey of Partridges

Square up the edges (leaving a lovely pile of trimmings for the cats), round the corners (I used a plate, as per the original tutorial), and bind with satin binding (the best kind for a baby blanket):

A Covey of Partridges

The final step is to wash the blanket so the cut flannel edges fuzz up and turn into chenille. Proud to report excellent success on this front:

A Covey of Partridges

This is a fairly quick make, though the sewing does take some time—I knocked out part of it at a work sewing night, and the rest with the company of Netflix. I found the cutting part to be ridiculously satisfying for no good reason, and I managed not to slice a big hole in the cotton (my biggest fear going into the project). Happiness all around!

2014-05-17 12.07.23

A Covey of Partridges


A Covey of Partridges

FINISHED SIZE: Around 40″ x 40″

PATTERN: Heirloom Cut Chenille Baby Blanket from Aesthetic Nest

FABRIC: “Bird Basket” in teal from the Meet the Gang collection by Marisa and Creative Thursday for Andover Fabrics for the front; white, yellow, and baby blue flannel for the chenille

NOTIONS: 2 spools of Mettler Cotton All-Purpose Thread in Cactus for the quilting; Aurifil in Light Beige for the binding; 2″ satin blanket binding in cream

A Parliament of Owls

I ran across this hilarious owl-print flannel earlier this spring and fell in love with how half of the owls look exceedingly skeptical of life while the other half look startled and…kind of dopey?

Owls

When I added it to my cart with a bunch of Kona solids and one grassy print, I swear I had a concrete plan in mind, but then the fabric arrived and got shoved under the craft table, still in its box, while I worked on other things, and when I opened up I had completely forgotten what I was going to make with it.

Luckily a little Googling turned up this “mod chevron” pattern by Rashida Coleman-Hale in Generation Q Magazine, which was perfect for using the random assortment of quarter-yard bits I had for some reason decided I needed:

owl quilt fabric

The pattern has you cut out a bunch of squares, sew them together with twin lines across the diagonal, cut them in half (between the sewn lines), then press them open so that you end up with a bunch of half-square triangles. When you line them up, you get chevrons. It’s quite lovely:

half-square triangles

After you cut your pieces apart, you’re supposed to trim everything down to end up with neat 6.5″ squares. I tried this on one square and immediately abandoned the idea. Word to the wise: the pattern still works sans trimming, though the backing will be a tight fit. Save yourself the trouble.

I spent one afternoon washing, ironing, and cutting; one evening (“large project” craft night at work) sewing the squares together and cutting them apart; one morning assembling the top; and one Saturday quilting, making bias tape, and binding. All in all, this came together quite fast:

owl quilt: front

owl quilt: back


A Parliament of Owls

FINISHED SIZE: 40″ by 54″

PATTERN: “Mod Chevron Baby Quilt” by Rashida Coleman-Hale in Generation Q Magazine

FABRIC: Urban Zoologie Flannel Owls in Marine for the back and a few triangles on the front; Quilter’s Linen Print in Leaf for the binding; Kona cotton solids in sage (the darker turquoise), aqua (the lighter blue), navy, sunflower, and grass green for the front. Note: the second photo above shows Kona cotton in chartreuse, which I didn’t end up using.

BATTING: a little less than one fourth of a package of Warm & Natural Cotton Batting in king size

NOTIONS: Pieced and quilted using Aurifil in Light Beige.

Peach and Gold Quilt: It is done.

Peach and Gold Quilt (front)

Peach and Gold Quilt (back)

Washed, dried, and wrinkly. A lot of quilters seem to love this look, but I’m still undecided. I think I like the crispness of the stitching before it’s run through the washing machine. Thoughts?


Peach and Gold Quilt

Finished size: I’ve been holding this post up for over a week because I packed this quilt away already. Rather than holding it up even longer, I’m going to say: lap size!

PATTERN: Four-patch with border, provided by the Cambridge Quilt Shop as part of their friendly, encouraging, very helpful Start Quilting class. I basically bought a sewing machine and showed up at this class, and I ended up with a quilt. Highly recommended.

FABRIC: If you’re looking for similar fabrics, I bought everything for this quilt at the Cambridge Quilt Shop except for the bit of Carolyn Friedlander Botanics on the back. The solid peach is Kona Cotton in Salmon; the two fabrics for the four-patch (the ones with randomly placed tiny gold dots) are Hoffman Brilliant Blenders in white gold and ivory gold; the large neutral squares are similar fabric with more orderly rows of tiny gold dots; a large scrap of Carolyn Friedlander Botanics Foliage in Charcoal shows up on the back; the quilt is bound with a coral fabric with tiny peach dashes on it Dear Stella in Ticking Stripe (Coral).

In which I wrestle with bias tape and binding

Making bias tape still sort of freaks me out, maybe because I’m in awe of the continuous method (aka the tube). No matter how carefully I mark and pin and match edges together, I still can’t quite wrap my head around what I’m doing. I persevered last week, though, in order to get one step closer to finishing the peach and gold quilt. I ended up with a lovely mound of coral and peach bias tape, which I promptly ruined by not paying close enough attention to my scissors as I was cutting it apart.

Well done, me.

I was able to patch the non-shredded bits together and ended up with juuuuuust enough to make it around all four edges of this lovely quilt.

Which I then ruined again by forgetting everything I know about how to make lovely, crisp mitered corners and instead following the (really rather asinine) instructions in the Quilting By Machine Singer Sewing Reference Library, which gently guided me through folding over the back of a quilt to bind it but totally bungled everything when it came to binding a quilt with bias tape. According to the book, one first binds the opposite long edges, then binds the short edges separately. This leaves one with four sad little tails, sticking forlornly off the corners of one’s quilt:

Why, Quilting By Machine Singer Sewing Reference Library. Why.

(Aside: you don’t have to look too closely at the photo of the back of the quilt to see that my top stitching left an awkward little 1/4″ flap of binding sticking out. I’m blaming this on the book, even though I’m pretty sure the width and positioning of my bias tape may have been at fault. I’m annoyed enough that I’m going back through and hand stitching the flap down, which means I probably shouldn’t have bothered to machine stitch it in the first place. THE DRAMA.)

I managed to hand stitch along one long edge and wrangle one ugly binding tail into submission. From the front, it looks okay. From the back…I long for neatly mitered corners.

Nevertheless: only three more edges to hand sew and three more tails to tack down. So close to being done!