Overwhelmed by life, and fuzziness

This blog has fallen casualty to wedding preparations, an unexpected last-minute move, and the fact that most of my crafting lately has been for gifting purposes, and therefore isn’t yet publicly shareable.

But: I have been making headway on something lovely.

Since I decided to get married in a strapless dress in November in New England (brrr), I’ve been looking for something to wear over my wedding dress to keep me warm. The options feel infinite:

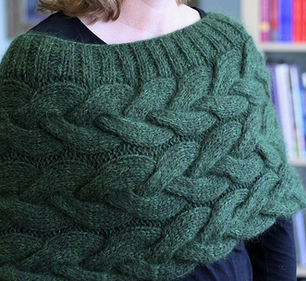
After waffling between rose gold sequin explosions, bright pea coats, and a slew of wool shrugs/scarves/cowls/shawls, I finally decided on Jami Brynildson’s Braided Cable Hug, which I stumbled across on Ravelry.

Thick, soft cables: check. Maximum fuzziness: check. Warm enough to withstand whatever Maine’s winter might throw at me: check.

I picked up some extra soft ivory yarn at a Gather Here crafters’ brunch last month and got a couple of inches in before I accidentally skipped a row and hard to start over. I frogged it (NEW KNITTING LINGO!) and started over the next day, then promptly did the same thing again. In the meantime, I fell in love with a photograph of a similar knitted piece that had three large cables and one smaller cable, so I decided to rewrite the pattern a bit to see if I could adjust it. Verdict: success! I can’t get over how easy this has been to knit, or how soft and chunky and fuzzy it is.

Once the cables are done, which should happen this weekend, comes the hard part (for me): grafting together and picking up stitches, neither of which I’ve done before. I’m looking forward to learning some new skills, and also a bit sad that I’m almost done with this project. I’ve loved working with this yarn, learning how to cable, and watching my work grow. Can’t wait to wet block it and see how the end product looks.

Zippy Top #2: Scrubs Edition

My first Zippy Top was actually what I think fancy fashion seamsters would call a “wearable muslin”—a test run that turned out to be something I could actually wear outside of the house. My second attempt was…the opposite of that.
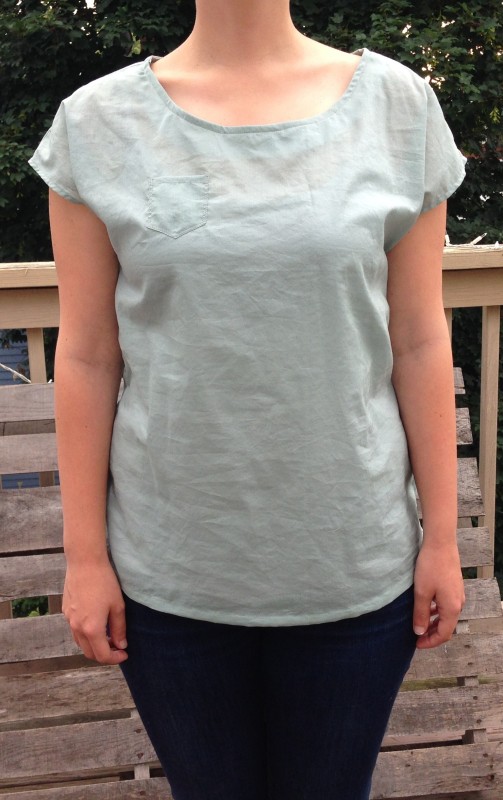
Zippy Top 2: Front

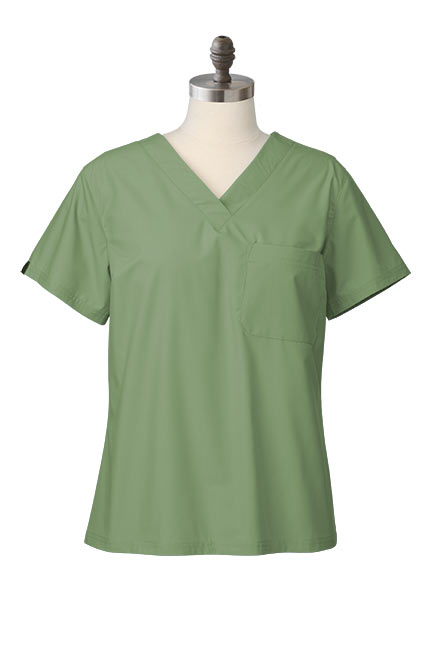
Check it out, guys: I MADE SCRUBS.

scrubs

In the other versions I’ve seen, the Zippy Top (a See Kate Sew pattern) looks modern and cute. On me, it looks…plain. (A friend’s comment about my first version: “very nice! but could use a little more decolletage.”) I mentioned last time that I might add a pocket for visual interest, but as we can clearly see here, no dice.

Part of this awkwardness can definitely be attributed to my fear of working with prints (hello, “natural” colored muslin! hello, timid green cotton lawn that in retrospect was definitely not a good choice for this pattern!). Another part of it can be chalked up to my still-in-their-infancy sewing skills, which mean my neckline isn’t as crisp as it good be. Yet another part is probably how I’m shaped: this top doesn’t seem to sit well on my narrow shoulders.

More evidence of the awkwardness:
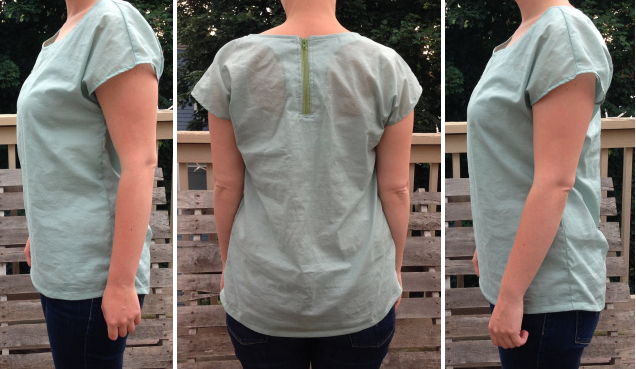
Zippy Top: Side and Back

Aside from the general “I’m designed to camouflage puke” appearance, a couple of specific oddities:

Moment of truth: I have no idea which way is the “right” way to line up the side seams, as all the pattern says is to “match front and back side seams with right sides together.” Experienced seamsters, HALP. Notice all the wrinkling/pooling around the armscye*, both front and back? I had a little less of this last time, when I matched the side seams from the bottom up (meaning the hemmed edge of the arm opening overlapped quite a bit from front to back) before sewing them together. I suspected that the fact that I had hem overlap in the armpit area meant I did it wrong last time, so this time, I matched the side seams up starting at the front and back end of each arm opening, meaning the bottom hem was uneven but the ends of the arm opening matched up. Given the extra wrinkling around the arms in this version, though, I’m now wondering if I did things correctly last time, and maybe the front and back pattern pieces aren’t correctly drafted to match. Or, more likely, I am awkwardly shaped (see above).

Second: there is a lot (a lot a lot) of extra fabric hanging out in the back. Again, an open call to experienced garment makers: should I be blaming this on some weirdness of my own spine? And if so, how do I fix it?

Finally: what a horrible, horrible fabric choice for this top. Lawn is among the recommended fabrics, but this green isn’t doing me any favors. On top of the iffy color, it’s also completely see-through, meaning the facing creates a weird racerback effect. Also: SO MANY WRINKLES. I finished ironing this literally five minutes before taking pictures.

I suspect all issues (barring the fabric-related ones) are the fault of either my inability to correctly interpret patterns or my inability to correctly adjust patterns to fit my body (which is the whole point of sewing one’s own clothing, so this is something I’ll eventually learn how to do. Any and all pointers to good resources welcome). But to sum up: I won’t be wearing this in public, unless I’m attending in costume as a surgeon.

* Fancy seamster word for “armhole,” which, upon reading out loud to myself, I realize needs a fancy synonym. Way to go, seamsters.


Zippy Top #2: Scrubs Edition

PATTERN: The Zippy Top from See Kate Sew

FABRIC: “Pale Jade Green Lawn” from Denver Fabrics, which appears no longer to be available. This pale green lawn is similar.

NOTIONS: 8″ avocado green YKK zipper from Zipit, 100% cotton thread purchased at Gather Here

TIME: Somewhere between 90 minutes and two hours on Friday morning to cut out and do everything but hem; 20 minutes tonight to hem.

A Covey of (Fuzzy) Partridges

I’d be delighted if everything I made came with a specialized term of venery, but I think these partridges might be my last animal-themed project for a while. That said: check out these adorable birds.

Birds

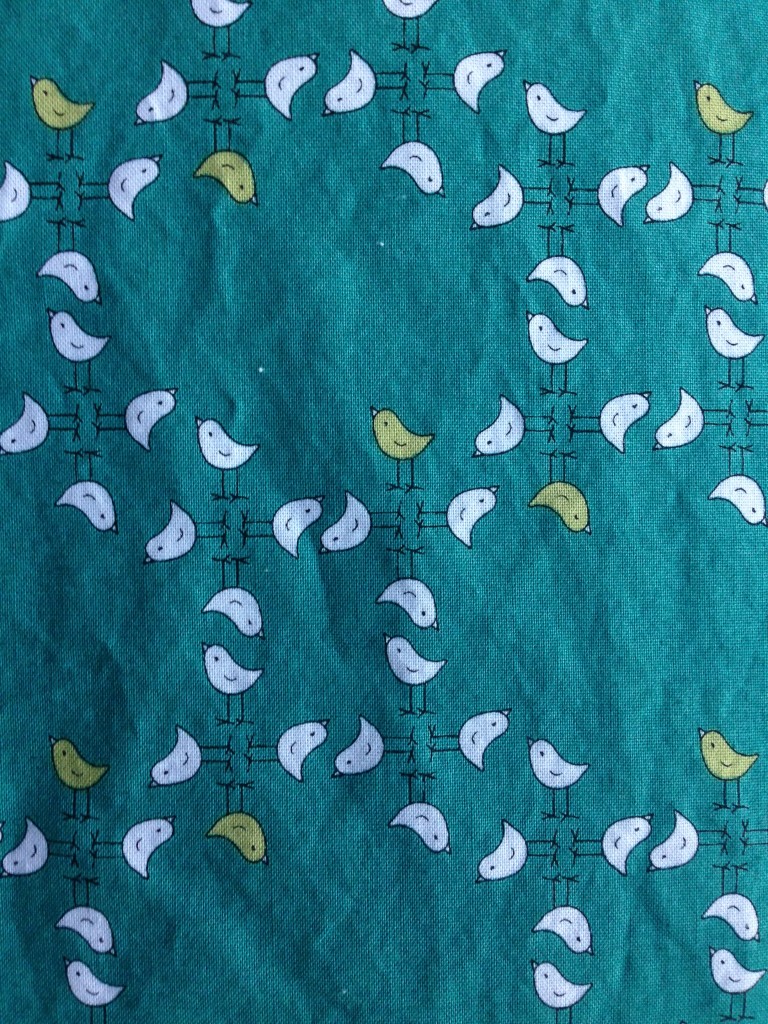
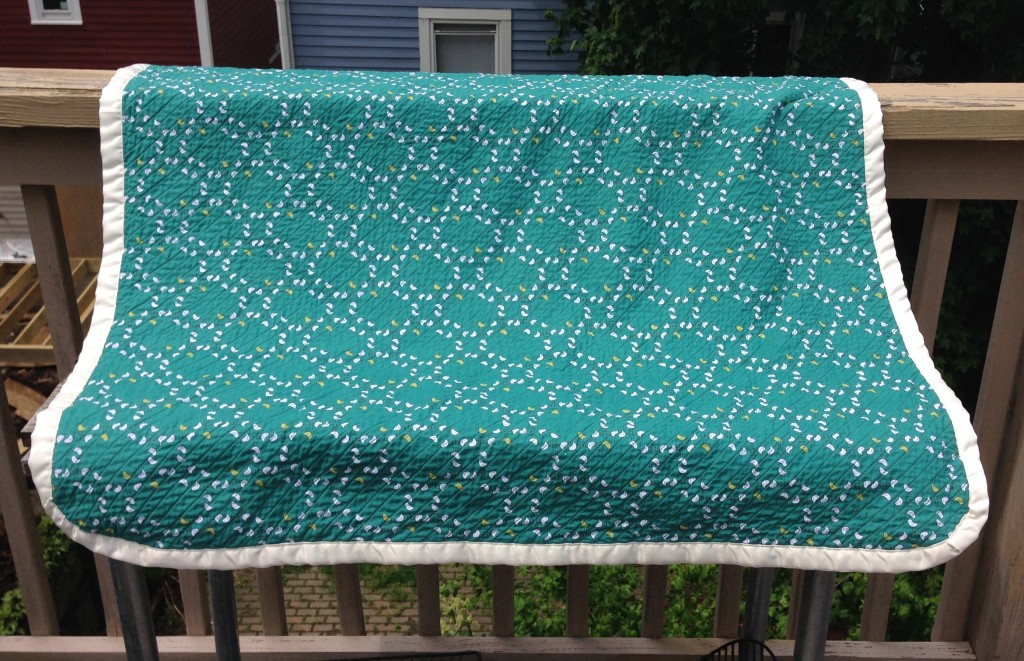
The fabric is “Bird Basket” in teal from the Meet the Gang collection by Marisa and Creative Thursday for Andover Fabrics. I found it (and fell in love with it) at the Fabric Corner in Arlington a few months ago, and picked it up with the Heirloom Cut Chenille Baby Blanket from Aesthetic Nest in mind. A yard and a quarter each of this and three different colors of flannel (yellow, white, and baby blue) later, and I was in business.

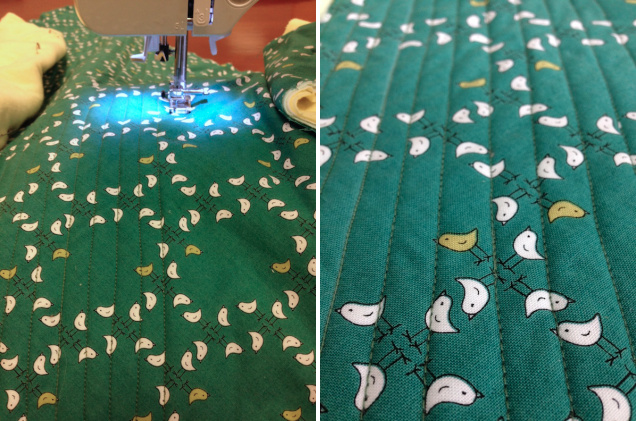
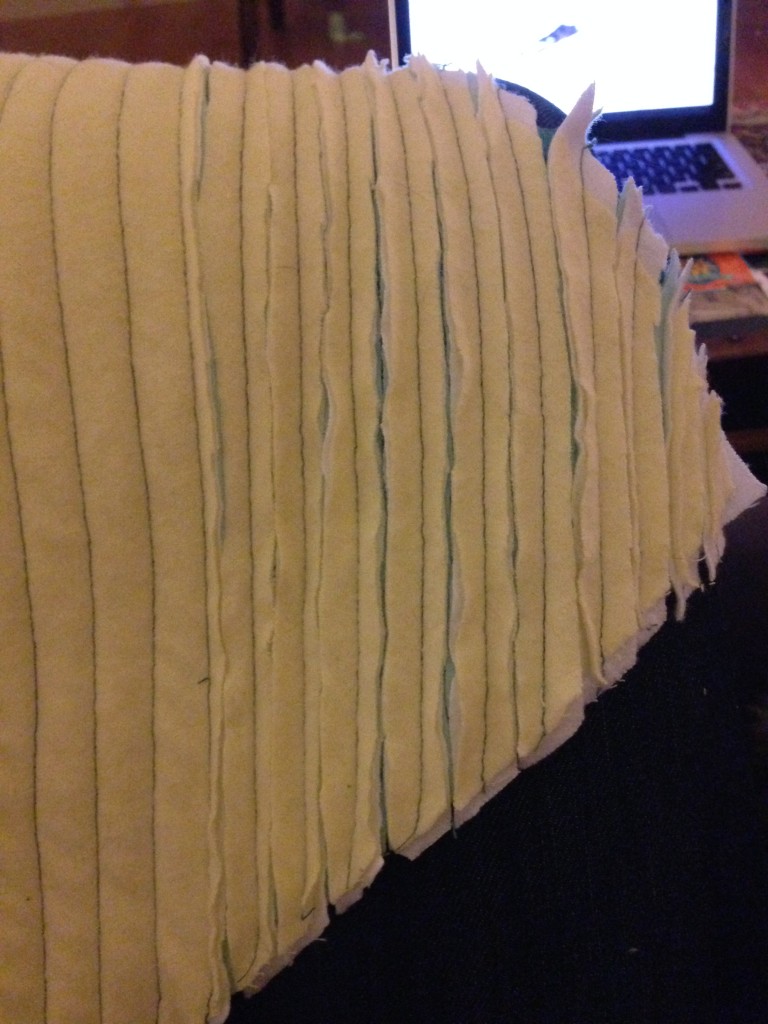
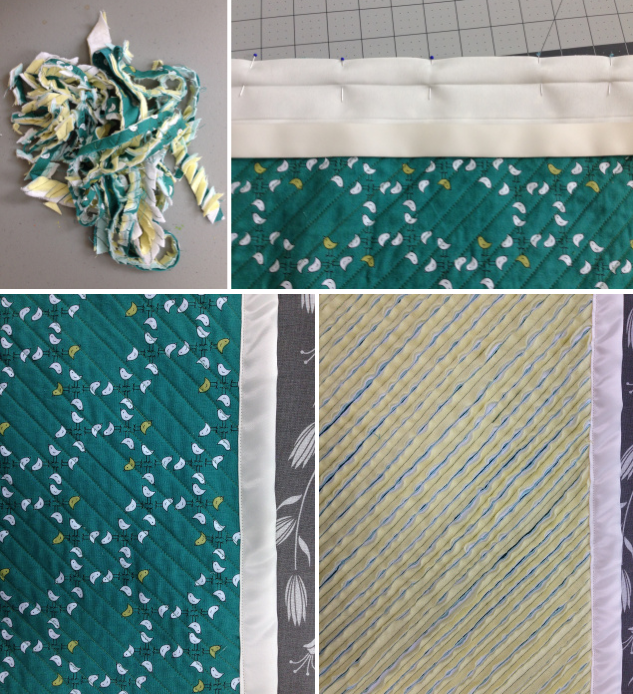
When I first bought my sewing machine, a friend recommended the chenille blanket as “a nice quilt-like project but without all of the piecing.” You prewash and iron your fabric, stack it up, and mark a starting line down the center, and you’re ready to “quilt,” which in this case involves sewing parallel lines on the diagonal, half an inch apart, across the entire shebang. Like so:

A Covey of Partridges

Once all of the lines are sewn, you flip the blanket over and cut through the layers of flannel. I enlisted Mr. Jones to help with this, and we took care of business while watching Game of Thrones.

A Covey of Partridges

Square up the edges (leaving a lovely pile of trimmings for the cats), round the corners (I used a plate, as per the original tutorial), and bind with satin binding (the best kind for a baby blanket):

A Covey of Partridges

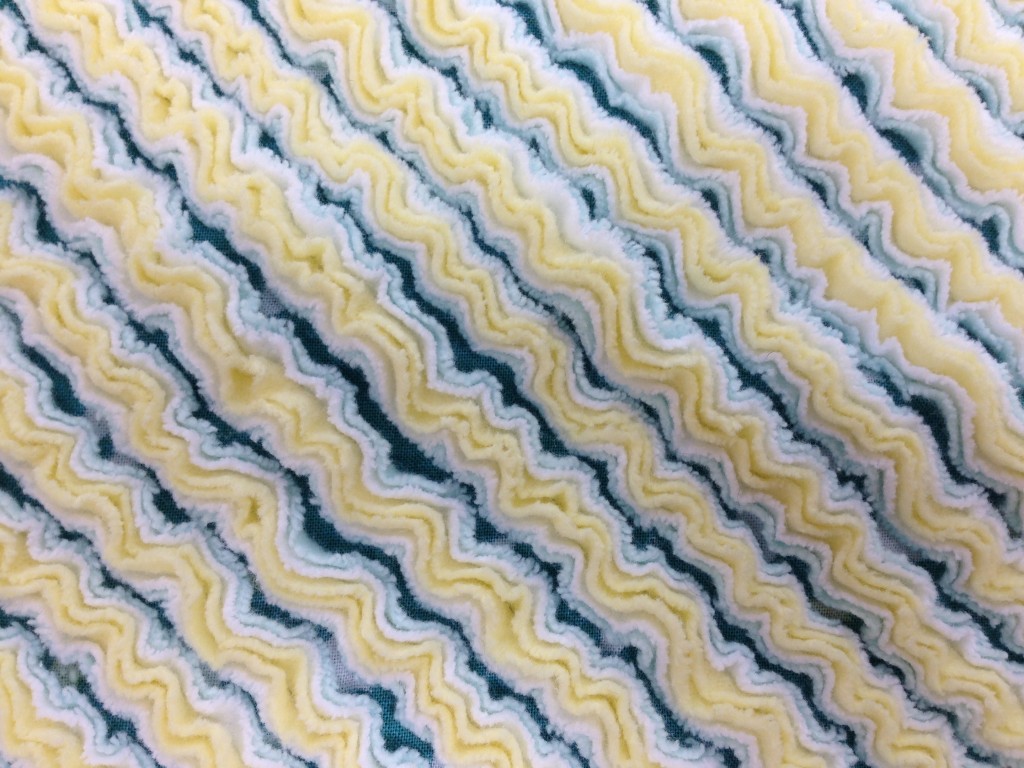
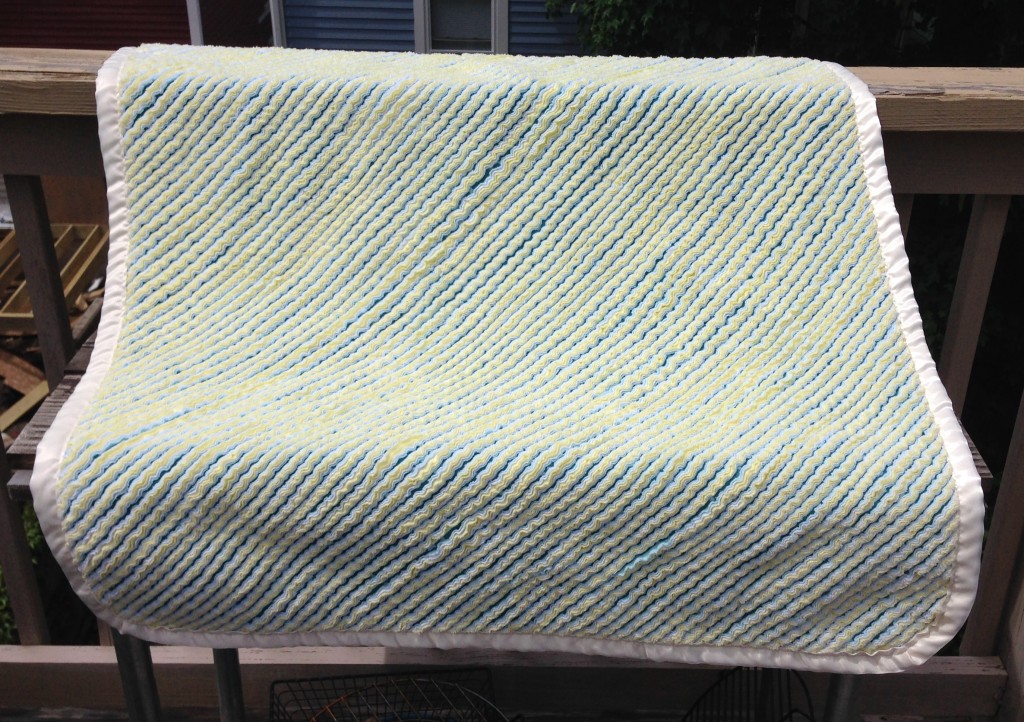
The final step is to wash the blanket so the cut flannel edges fuzz up and turn into chenille. Proud to report excellent success on this front:

A Covey of Partridges

This is a fairly quick make, though the sewing does take some time—I knocked out part of it at a work sewing night, and the rest with the company of Netflix. I found the cutting part to be ridiculously satisfying for no good reason, and I managed not to slice a big hole in the cotton (my biggest fear going into the project). Happiness all around!

2014-05-17 12.07.23

A Covey of Partridges


A Covey of Partridges

FINISHED SIZE: Around 40″ x 40″

PATTERN: Heirloom Cut Chenille Baby Blanket from Aesthetic Nest

FABRIC: “Bird Basket” in teal from the Meet the Gang collection by Marisa and Creative Thursday for Andover Fabrics for the front; white, yellow, and baby blue flannel for the chenille

NOTIONS: 2 spools of Mettler Cotton All-Purpose Thread in Cactus for the quilting; Aurifil in Light Beige for the binding; 2″ satin blanket binding in cream

A Parliament of Owls

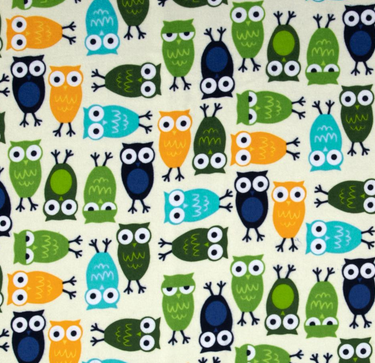
I ran across this hilarious owl-print flannel earlier this spring and fell in love with how half of the owls look exceedingly skeptical of life while the other half look startled and…kind of dopey?

Owls

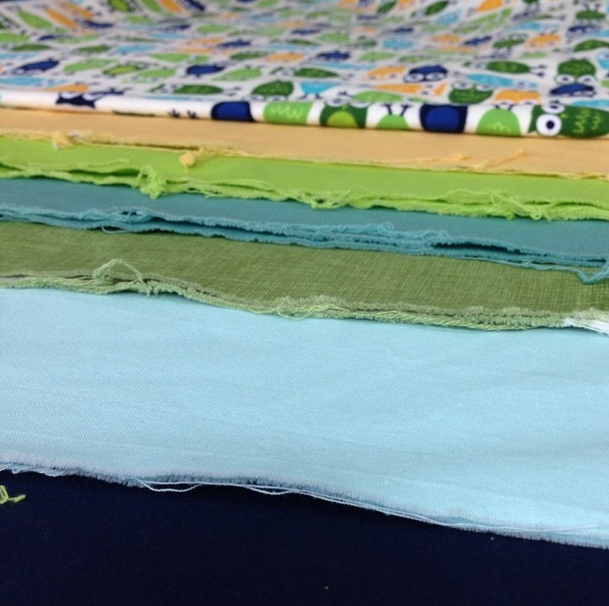
When I added it to my cart with a bunch of Kona solids and one grassy print, I swear I had a concrete plan in mind, but then the fabric arrived and got shoved under the craft table, still in its box, while I worked on other things, and when I opened up I had completely forgotten what I was going to make with it.

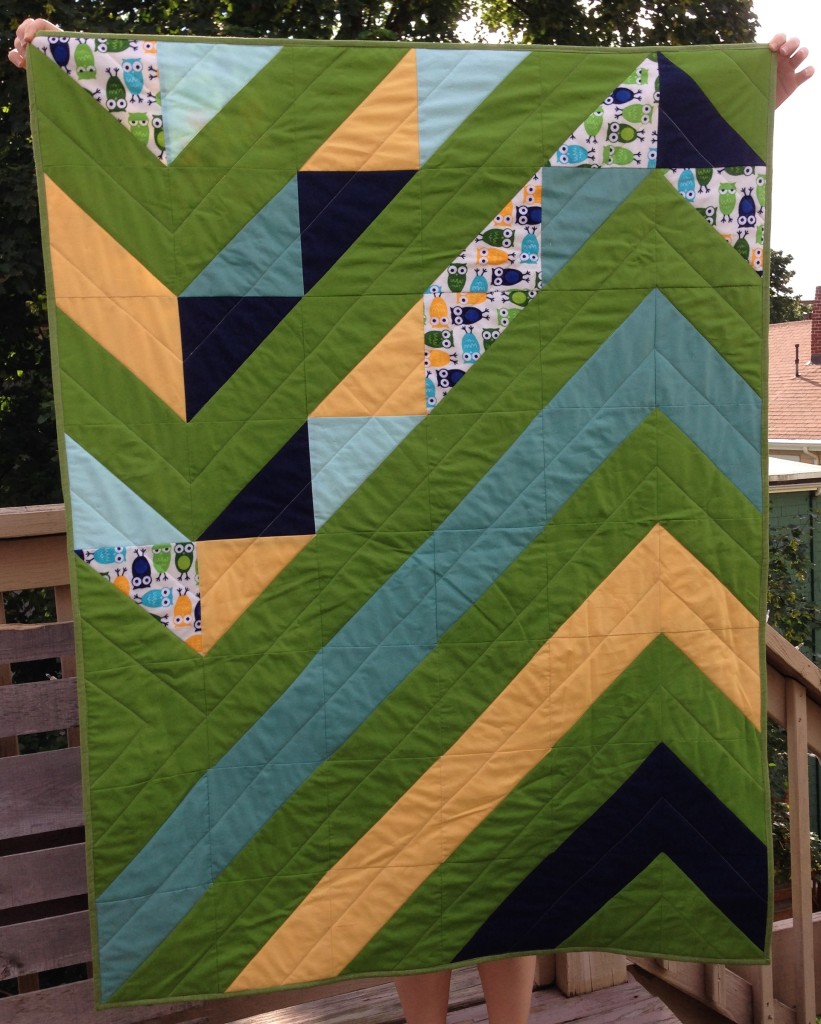
Luckily a little Googling turned up this “mod chevron” pattern by Rashida Coleman-Hale in Generation Q Magazine, which was perfect for using the random assortment of quarter-yard bits I had for some reason decided I needed:

owl quilt fabric

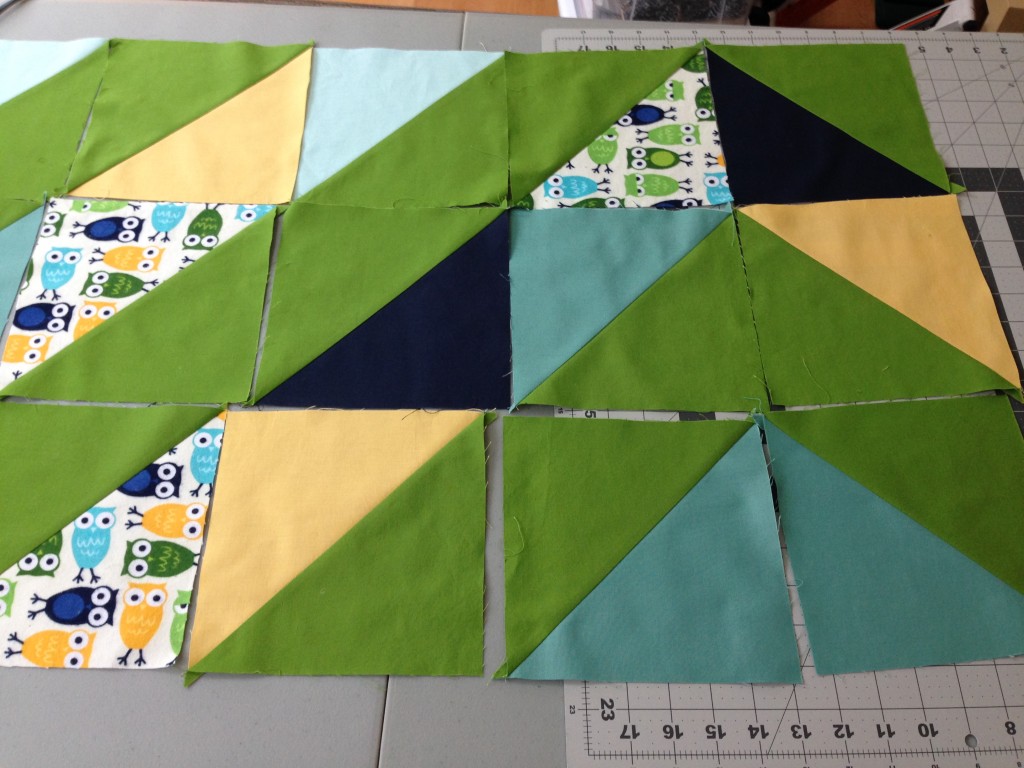
The pattern has you cut out a bunch of squares, sew them together with twin lines across the diagonal, cut them in half (between the sewn lines), then press them open so that you end up with a bunch of half-square triangles. When you line them up, you get chevrons. It’s quite lovely:

half-square triangles

After you cut your pieces apart, you’re supposed to trim everything down to end up with neat 6.5″ squares. I tried this on one square and immediately abandoned the idea. Word to the wise: the pattern still works sans trimming, though the backing will be a tight fit. Save yourself the trouble.

I spent one afternoon washing, ironing, and cutting; one evening (“large project” craft night at work) sewing the squares together and cutting them apart; one morning assembling the top; and one Saturday quilting, making bias tape, and binding. All in all, this came together quite fast:

owl quilt: front

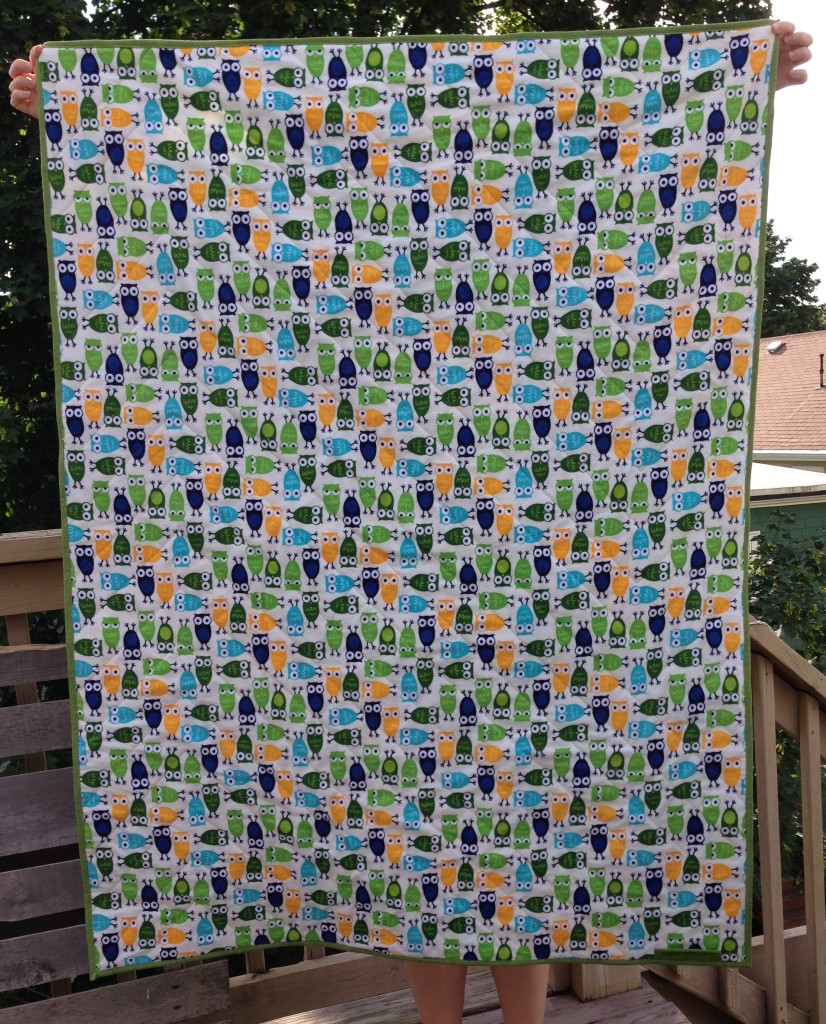
owl quilt: back


A Parliament of Owls

FINISHED SIZE: 40″ by 54″

PATTERN: “Mod Chevron Baby Quilt” by Rashida Coleman-Hale in Generation Q Magazine

FABRIC: Urban Zoologie Flannel Owls in Marine for the back and a few triangles on the front; Quilter’s Linen Print in Leaf for the binding; Kona cotton solids in sage (the darker turquoise), aqua (the lighter blue), navy, sunflower, and grass green for the front. Note: the second photo above shows Kona cotton in chartreuse, which I didn’t end up using.

BATTING: a little less than one fourth of a package of Warm & Natural Cotton Batting in king size

NOTIONS: Pieced and quilted using Aurifil in Light Beige.

Hand Stamped Tea Towels

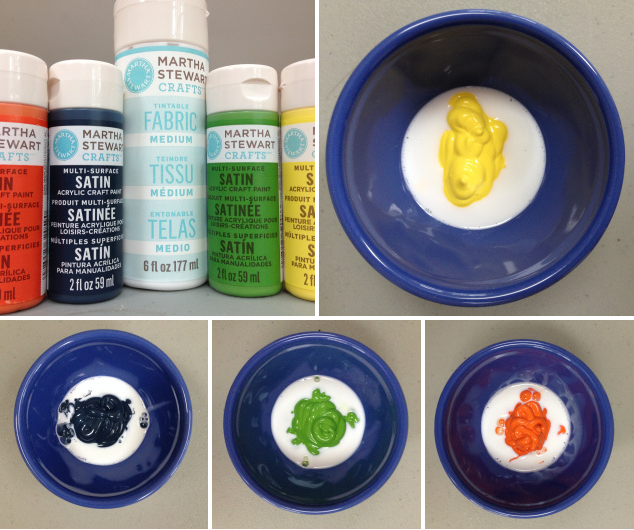
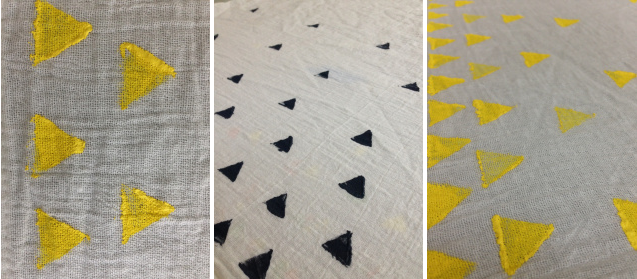
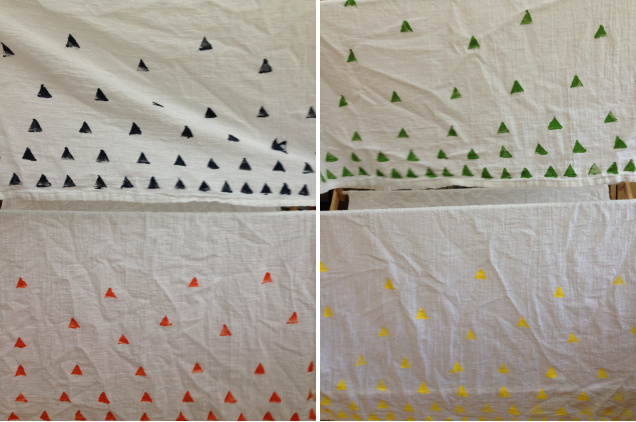
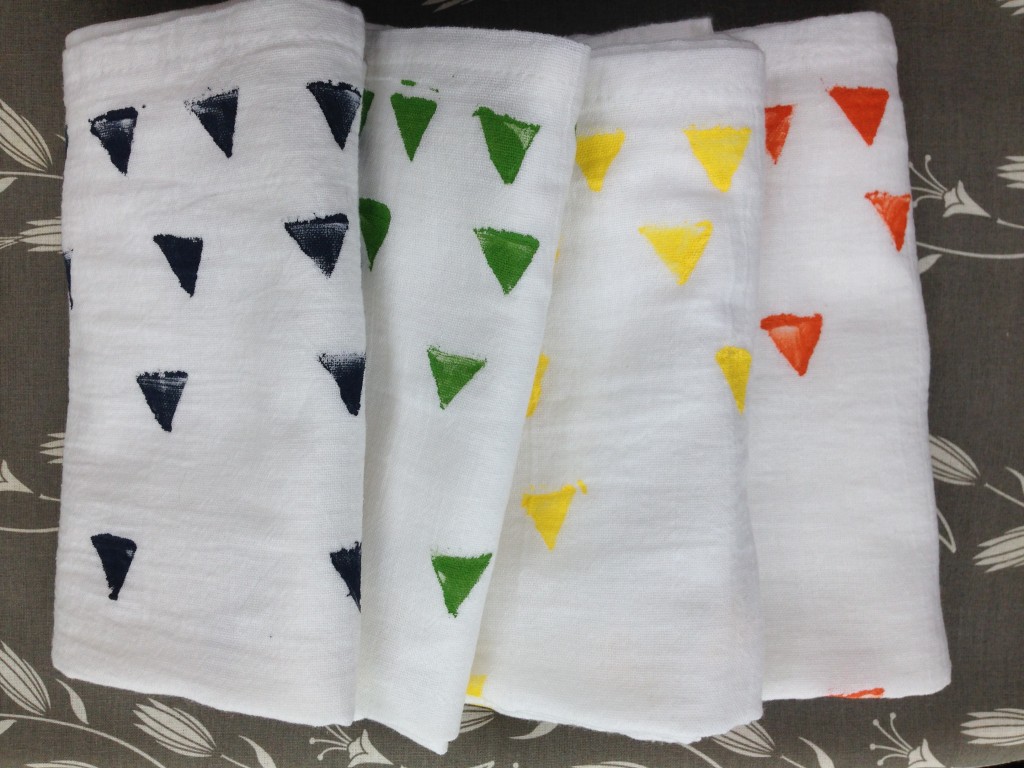
I’ve been experimenting lately with hand stamping fabric, the end goal being to jazz up quilts or even something like the top I made a couple of weekends ago. I’m not (yet?) a superb stamp carver, but I’m fond of simple geometric patterns, including the tiny, bright triangles I stamped on a set of tea towels for a friend’s wedding (part of my pledge to give five handmade gifts this year).

fabric paint
hand stamping
hand stamped towels
hand stamped towels