Pac-Man Hat

After my sister unwrapped the ear flap hat I made for her, my brother asked if I’d make him one, too. Only beige, he asked, and maybe with Pac-Man ghosts on it?

Challenge accepted!

I started with the same Norwegian Star Earflap Hat pattern, then combed the interwebz for Pac-Man ghost inspiration. This friendship bracelet pattern served as a good starting point:

Pac-Man ghost pattern

The hat is knitted in the round, with 112 stitches total. The original snowflake pattern is 15 rows of 16 stitches each, making for 7 repeats. I tweaked the Pac-Man pattern (originally 12 rows of 11 stitches) to be 14 stitches wide and 15 high (and proudly pranced around the kitchen waving my homemade colorwork chart in Mr. Jones’ face until he acknowledged how awesome this accomplishment truly was), and then I got down to the messy, messy business of actually knitting it.

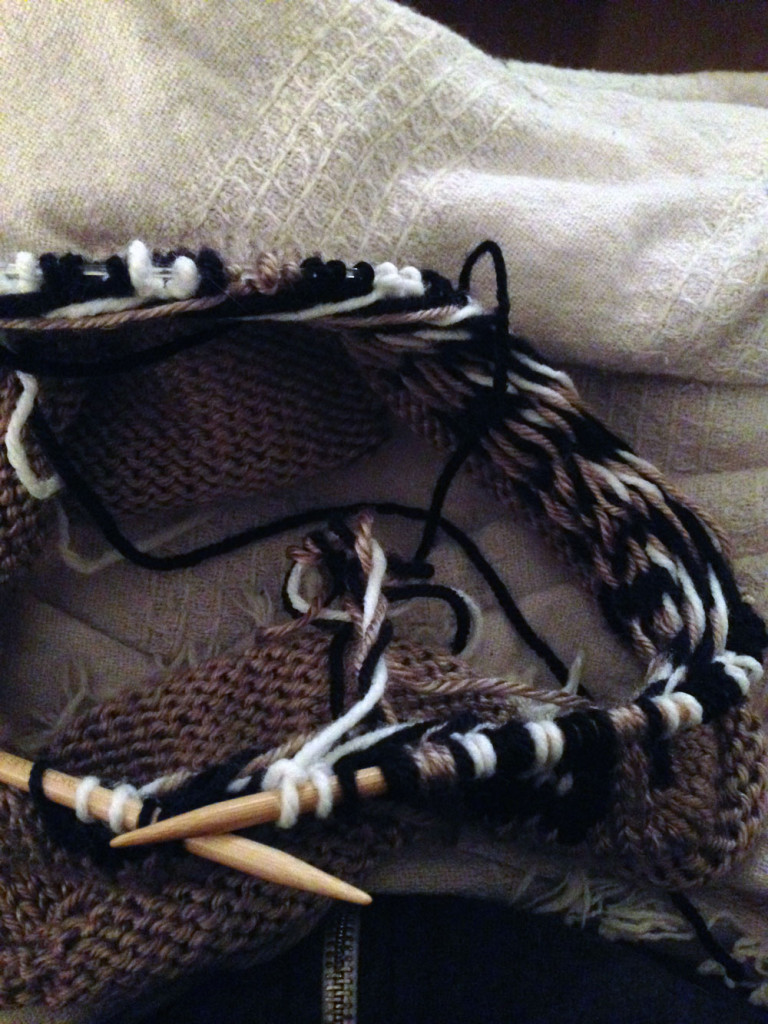
All the tangles

Ooof. With the background and the white and black for the eyes, I ended up working with four colors. I’m pretty sure this…isn’t a great idea for beginning knitters. Side note: I’ve seen a lot of tutorials on how to handle working with two colors, but nothing on using four colors simultaneously. Is this a ridiculous thing I did? Do people not do this? Is there a magic way to avoid having to stop and untangle your balls of yarn every twenty stitches?

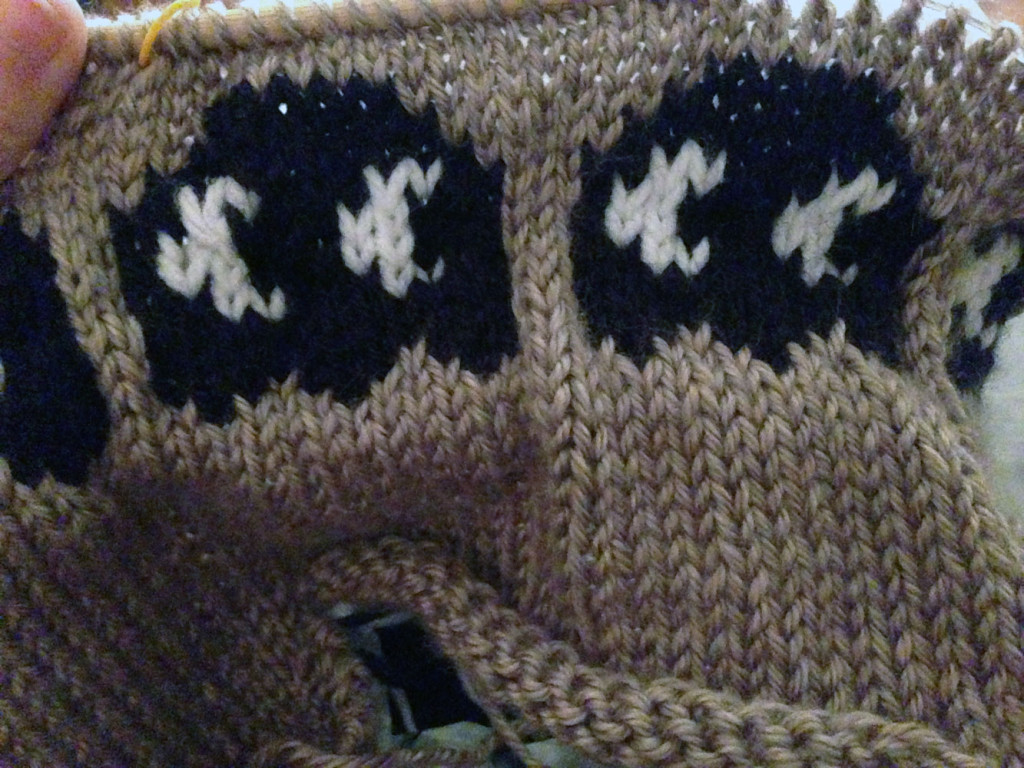
Despite the tangles, I managed to finish the colorwork portion of the hat on Monday with only minor puckering, which I think I’ll be able to fix at the blocking stage. I now have ghosts!

Pac-Man Ghosts

My brother asked for a “dull blue” as the accent color, which—I realized belatedly—means that these adorable creatures have no official name (and that the eyes don’t show up very well in pictures). I’m still kind of in love with them, though, and I’m looking forward to finishing up the crown of the hat and mailing it off soon. Hooray!

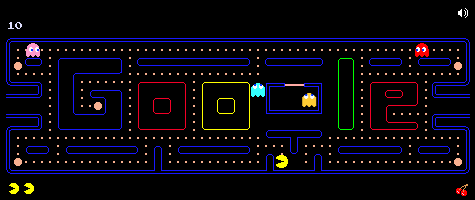
Lastly, and importantly: do you remember when Google made a playable Pac-Man doodle? No? Good thing I reminded you, then. Take three minutes today and see if you can beat my high score of (wait for it) 200.

Google Pac-Man Doodle

Winter Makes + What’s Next

I had high hopes—so high as to be delusional—of hitting the ground running after Thanksgiving and making Christmas and Hanukkah gifts and decorations galore. Instead, I came down with a cold that had me at home in bed for over a week.

I manage to pull myself together by mid-December, though, and finish a couple of projects. I’m recording these more for posterity than for inspiration: the photos are few and grainy, and only of the end results, not of the process.

Christmas Jammies

First up: a gift for Mr. Jones, who politely requested “adult footie pajamas with a hood and a zipper and a flap” for Christmas. It’s surprisingly hard to find a single pattern with all of these features. I looked at Simplicity 2853 (hood and zipper, no footies) and Simplicity 1731 (drawstring hood and zipper, patch pockets, no footies) before settling on Kwik Sew 3713, which has no hood and no zipper and no flap, but has footies and pockets.

I bought and downloaded the PDF version, which was…challenging (Step one: download and install a proprietary viewer. Step two: download a license for that viewer. Step three: download three different pattern files. Step four: weep as they print.). Indie pattern designers, you definitely win this round.

Mr. Jones and I scouted out both online and in-person shops for the appropriate fabric, but the one print he liked—check out the amazing deer/Fair Isle below—was sold out. At this point it was roughly December 17, and I decided to table the footie pajamas in favor of something a bit more realistically accomplishable before our planned gift exchange on the 19th.
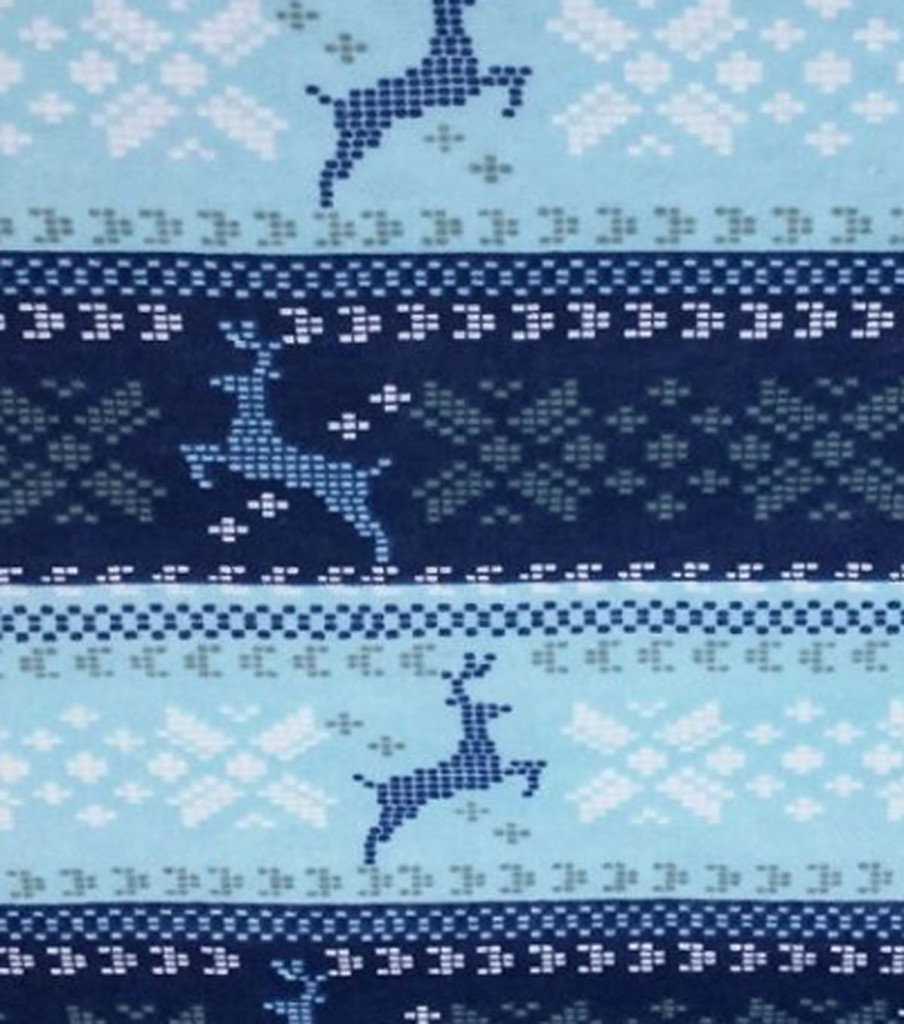
Amazing Christmas jammies, you were sadly not to be.

Amazing Christmas jammies, you were sadly not to be.

Enter: the lobster pants. One free PDF pajama pant pattern from Simplicity and three yards of lobster-print cotton from Fabric Corner later, we were in business.
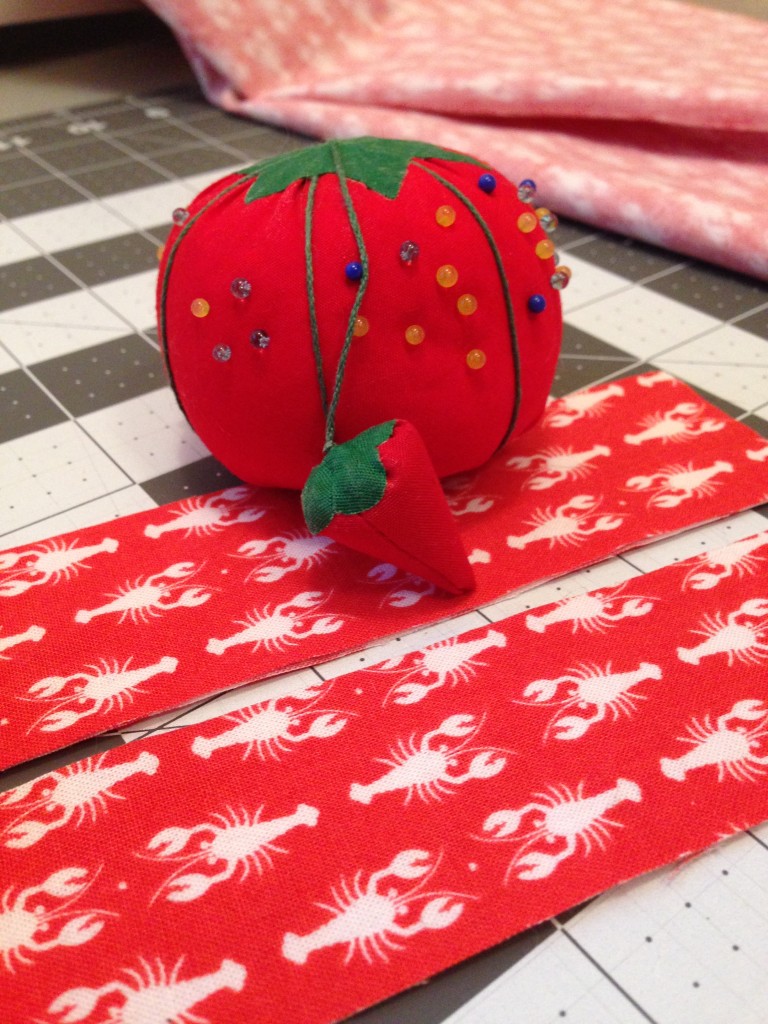
Lobsters!

Hello, you creepy cockroaches of the sea.

This came together super quickly, despite the fact that I may or may not have cut one of the pieces out backwards, almost had a meltdown trying to turn the drawstring inside out with a safety pin (lesson: use a chopstick), and realized after I had completely finished that the elastic waist was too big, meaning I had to rip open the waistband, cinch things up, and resew.

All that mess (which, thankfully, Mr. Jones didn’t witness) aside, these turned out pretty well:
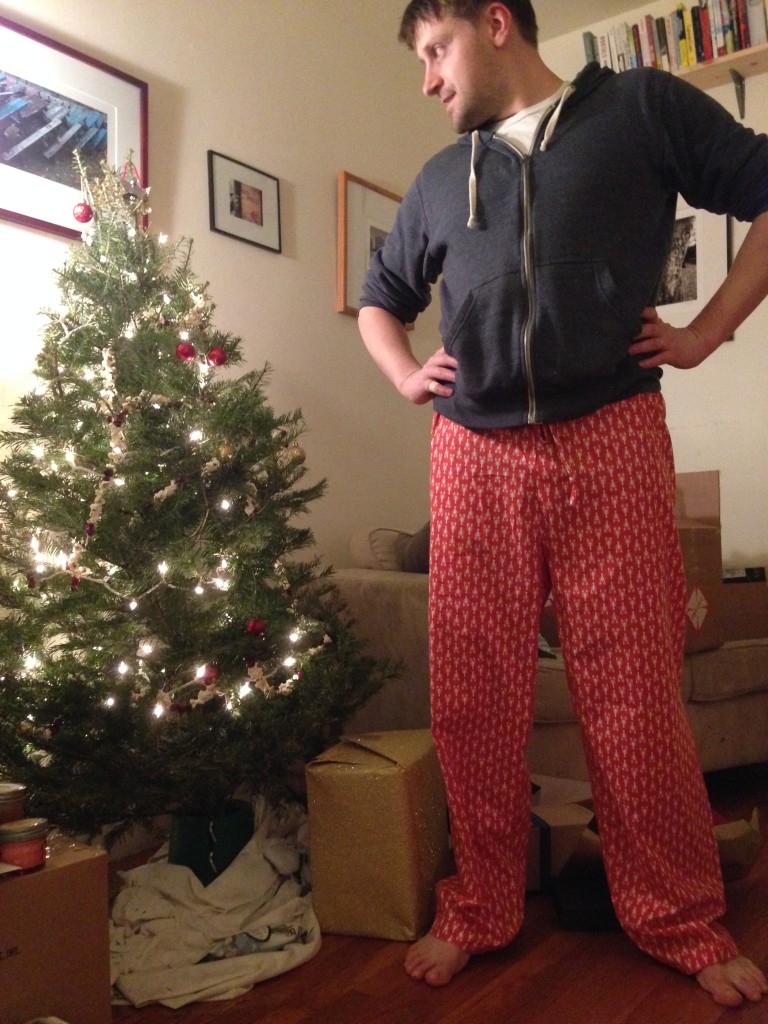
2014-12-18 22.25.08

Sadly, by the time we made it from Massachusetts to Michigan to Kansas, the thread I used (Mettler 100% Cotton All Purpose) had started to break in several places, opening up the seams. Has anyone else had this problem? A bit of research tells me that a cotton-wrapped polyester might have been a better choice. After another pass over the seams (thanks, Mom!), they seem to be holding up fine for now.

Snowflake Hat

Next up: knitting for my sister, who asked for an earflap hat. I couldn’t bear to buy one, so instead I swung by Gather Here’s Saturday knitting circle armed with the free Norwegian Star Earflap Hat pattern from Tiennie Knits on Ravelry.

This was my first time using DPNs (though I only used two at a time, so it wasn’t as exciting as it sounds), my first time knitting an i-cord, and—most thrillingly—my first colorwork attempt. Once I got the hang of the earflaps (which require you to pick up the loop between two stitches and knit into that in order to increase), this came together quickly: a couple of evenings, and it was done (slightly more detailed notes are on Ravelry, in case you’re interested).
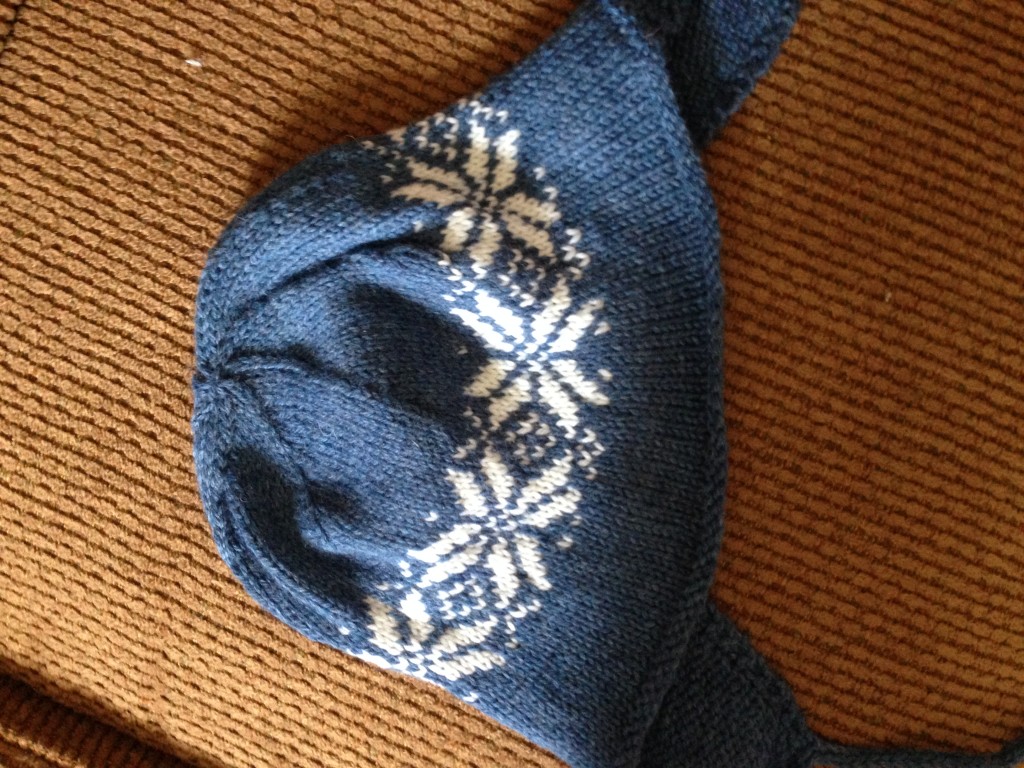
ear flap hat

I have the earflaps knitted for a second version, this time for my brother, who saw my sister’s version and got a little jealous. A sign of knitting success?

Next Up

I came back from winter break with a loooooooong list of things to make, including both projects I’ve had sitting in my studio for months and brand new ones, inspired in part by the gift of a serger (!!!) from Mr. Jones’ parents, pillow forms and a great bulletin board for organizing my notes and bits of ideas from my parents, and yarn from both sides. I’m toying with making that list public as a way to motivate myself to work through it, but I’m a little nervous about broadcasting my laziness so publicly. Is anyone else struggling with how dark it gets, and how early? These days, I come home from work and want to curl up in bed right away. Any thoughts on how to beat this, aside from “take your knitting to a tanning bed”?

Braided Cable Wedding Cover-Up

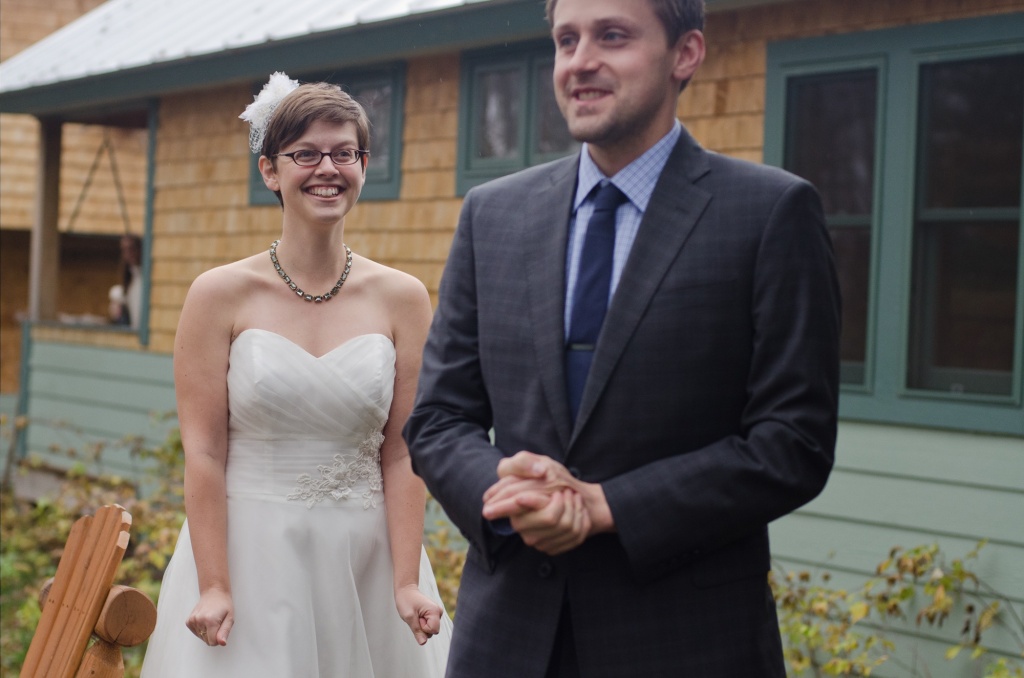
In case all the posts referring to wedding stress haven’t tipped you off, I got married! On November 1. In Maine. In a strapless, tea-length dress.

Did I mention the wedding was in November? In Maine?

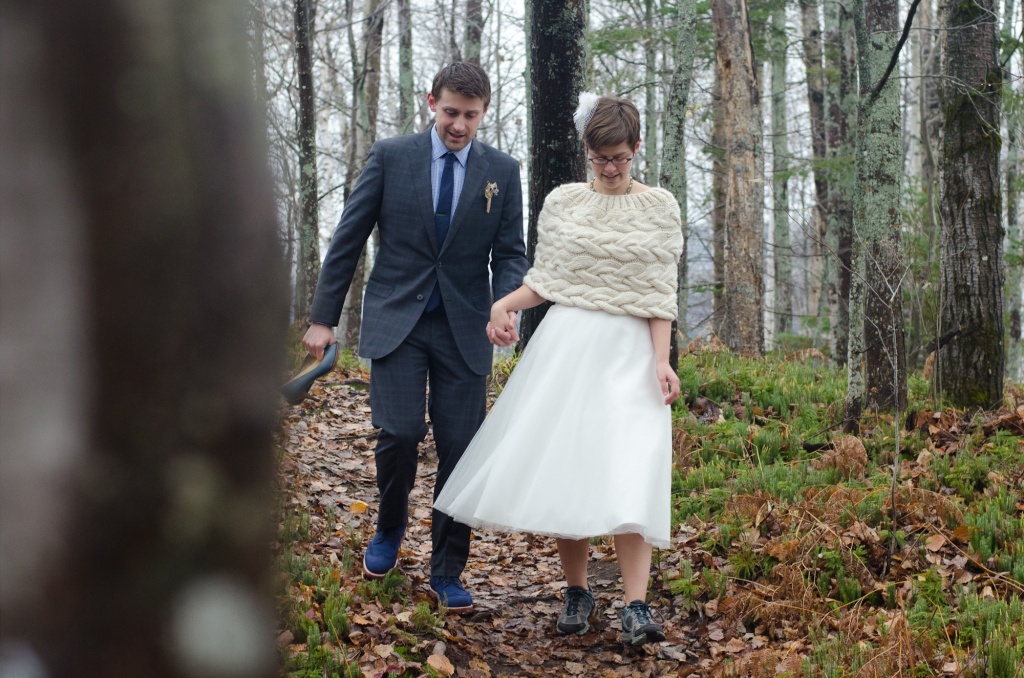
I realized pretty quickly after I bought my dress that bare shoulders weren’t going to cut it, and I started knitting Jami Brynildson’s Braided Cable Hug in a soft, fuzzy blend of ivory yarns to wear over the dress in case I got cold.

The cables came together fairly quickly, given that I’d never done anything more complicated than stockinette before (total time: approximately one and a half seasons of Witches of East End). From there, the pattern instructed:

With RS facing, graft the ends together using a darning needle, taking special care to match up cables and maintain a neat RS fabric.

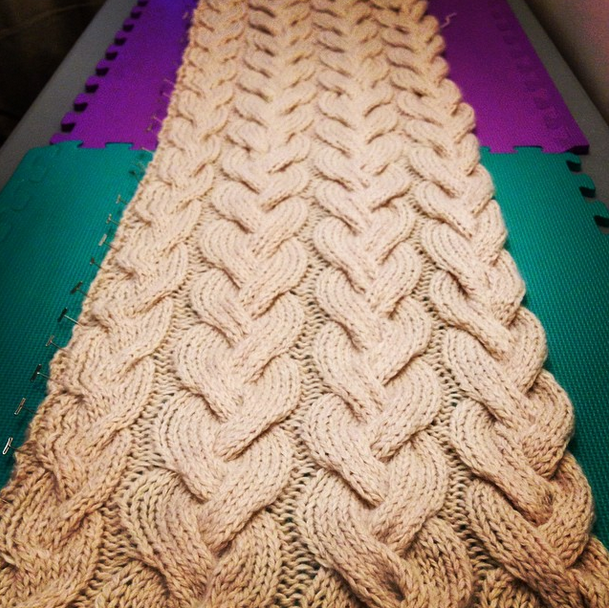
Furious Googling and Ravelry forum combing for “seam together cables” and “sew cables together knitting” revealed that a) the correct term is “grafting”; b) in order to do so, I should have used something called a “provisional cast on” (whoops); and c) grafting together cables is apparently WAY HARD. Also, contrary to the pattern instructions, one should block before grafting, rather than after. So: I blocked it on my new fancy foam blocking mat and hoped for the best.

Blocking: really hoping I did this the right way.

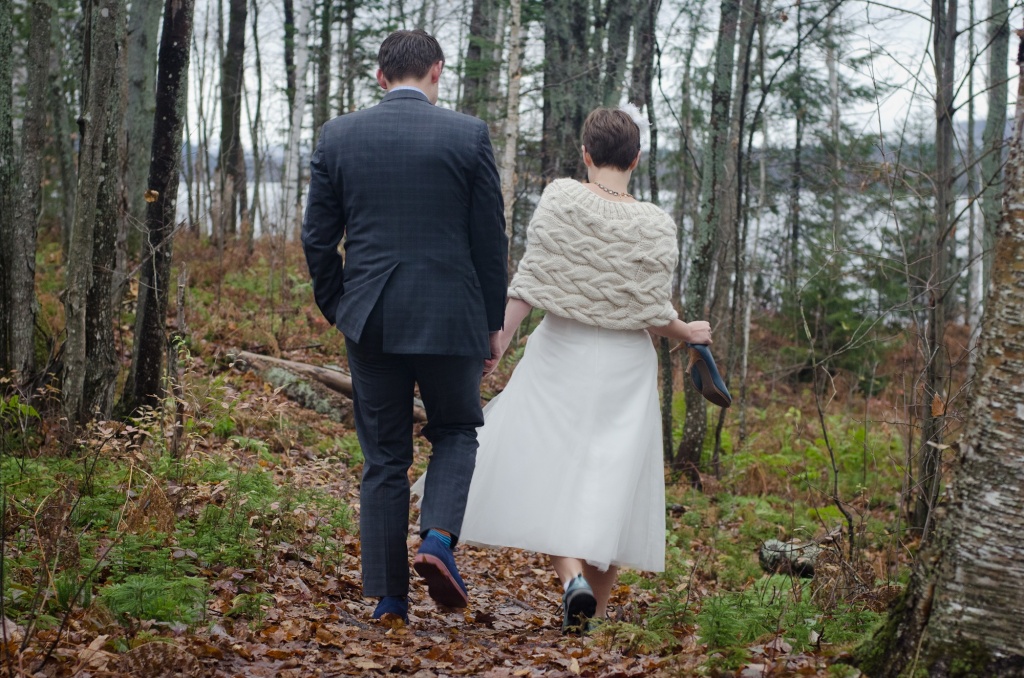
Between researching cable seaming and blocking, I also moved, and by the time I got back around to the project, I had kind of given up on “maintain[ing] a neat RS fabric.” Sorry, Jami Brynildson. Instead, I seamed the two edges together in an extremely obvious line and decided I’d wear that part at the back. Done.

After a few rounds of ribbing at the neckline, it was time to rock and roll. Witness, me looking very chilly (and excited) sans cover-up:

brrrrr

And much warmer, once properly attired:

warmer!

From the back, you can see the seam (which has migrated slightly to the right):

back view

After I looked at the pictures, I kind of regretted adding an extra half row of cable—the pattern as written includes three rows of 12-stitch cable, and I added a 6-stitch cable row at the top to mimic a photograph I’d seen on a wedding site. I like the way this looks, but the cover-up ended up coming down below my elbows, which gave the whole ensemble a bit of an awkward penguin look. The piece was big enough that I could move my arms freely, but I think it would have looked more elegant if it had ended just above my elbows.

Now that the wedding’s over, I’m not sure when I’ll wear this again—the length makes it a bit too cumbersome for daily wear, and the style isn’t quite office appropriate for me. That said, it’s so soft and cuddly that I can see myself tossing it on over leggings and long tee for lazy winter days at home.

Readers, such as you are (is anyone still out there?)—have any of you ever tried this so-called “provisional cast on”? Have you ever grafted cables together? Any pointers?

Flax sweater, bit by bit

I can’t believe we’re already a third of the way through September. I went to see my family and flew home to a new apartment, a new academic year, and a to-do list—technically, at least four competing simultaneous to-do lists—miles and miles long. (Relatedly: Mr. Jones and I went to Home Depot four times this weekend. Four times. FOUR. TIMES.) I still haven’t caught my breath, and I’m pretty sure it’ll be 2015 before I know it.

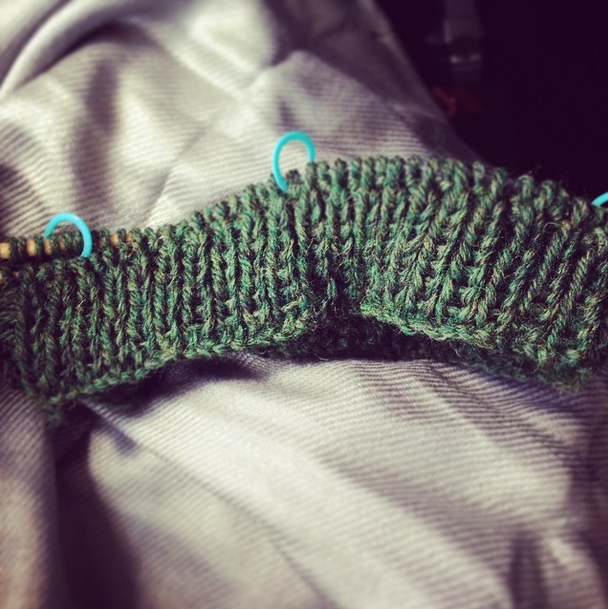
Still: I managed to carve out a tiny bit of time for myself—in the Detroit airport, of all places—last week to make a thing: the ribbed collar of the Flax sweater.

Flax sweater: collar

I bought the recommending knitting needles, but there was no way my cast on stitches were making it all the way around the cable I was using, so I ended up teaching myself how to make a Magic Loop. Bonus skill acquisition!

Once all the boxes are unpacked and the art is hung on the walls and the apartment feels a bit more like home (fingers crossed!), I’m hoping to find a few more minutes here and there to keep working on this. So far it feels like it will be the perfect thing to wear in New England in the fall—neat, warm, a bit scratchy, but good for the soul.